By Steve Pawlyk
Published July 14, 2023
Today, we’re focusing on a core cheerleading move, the back handspring. This move is not only crucial for a successful routine, but it also helps in building strength, agility, and precision in cheerleaders.
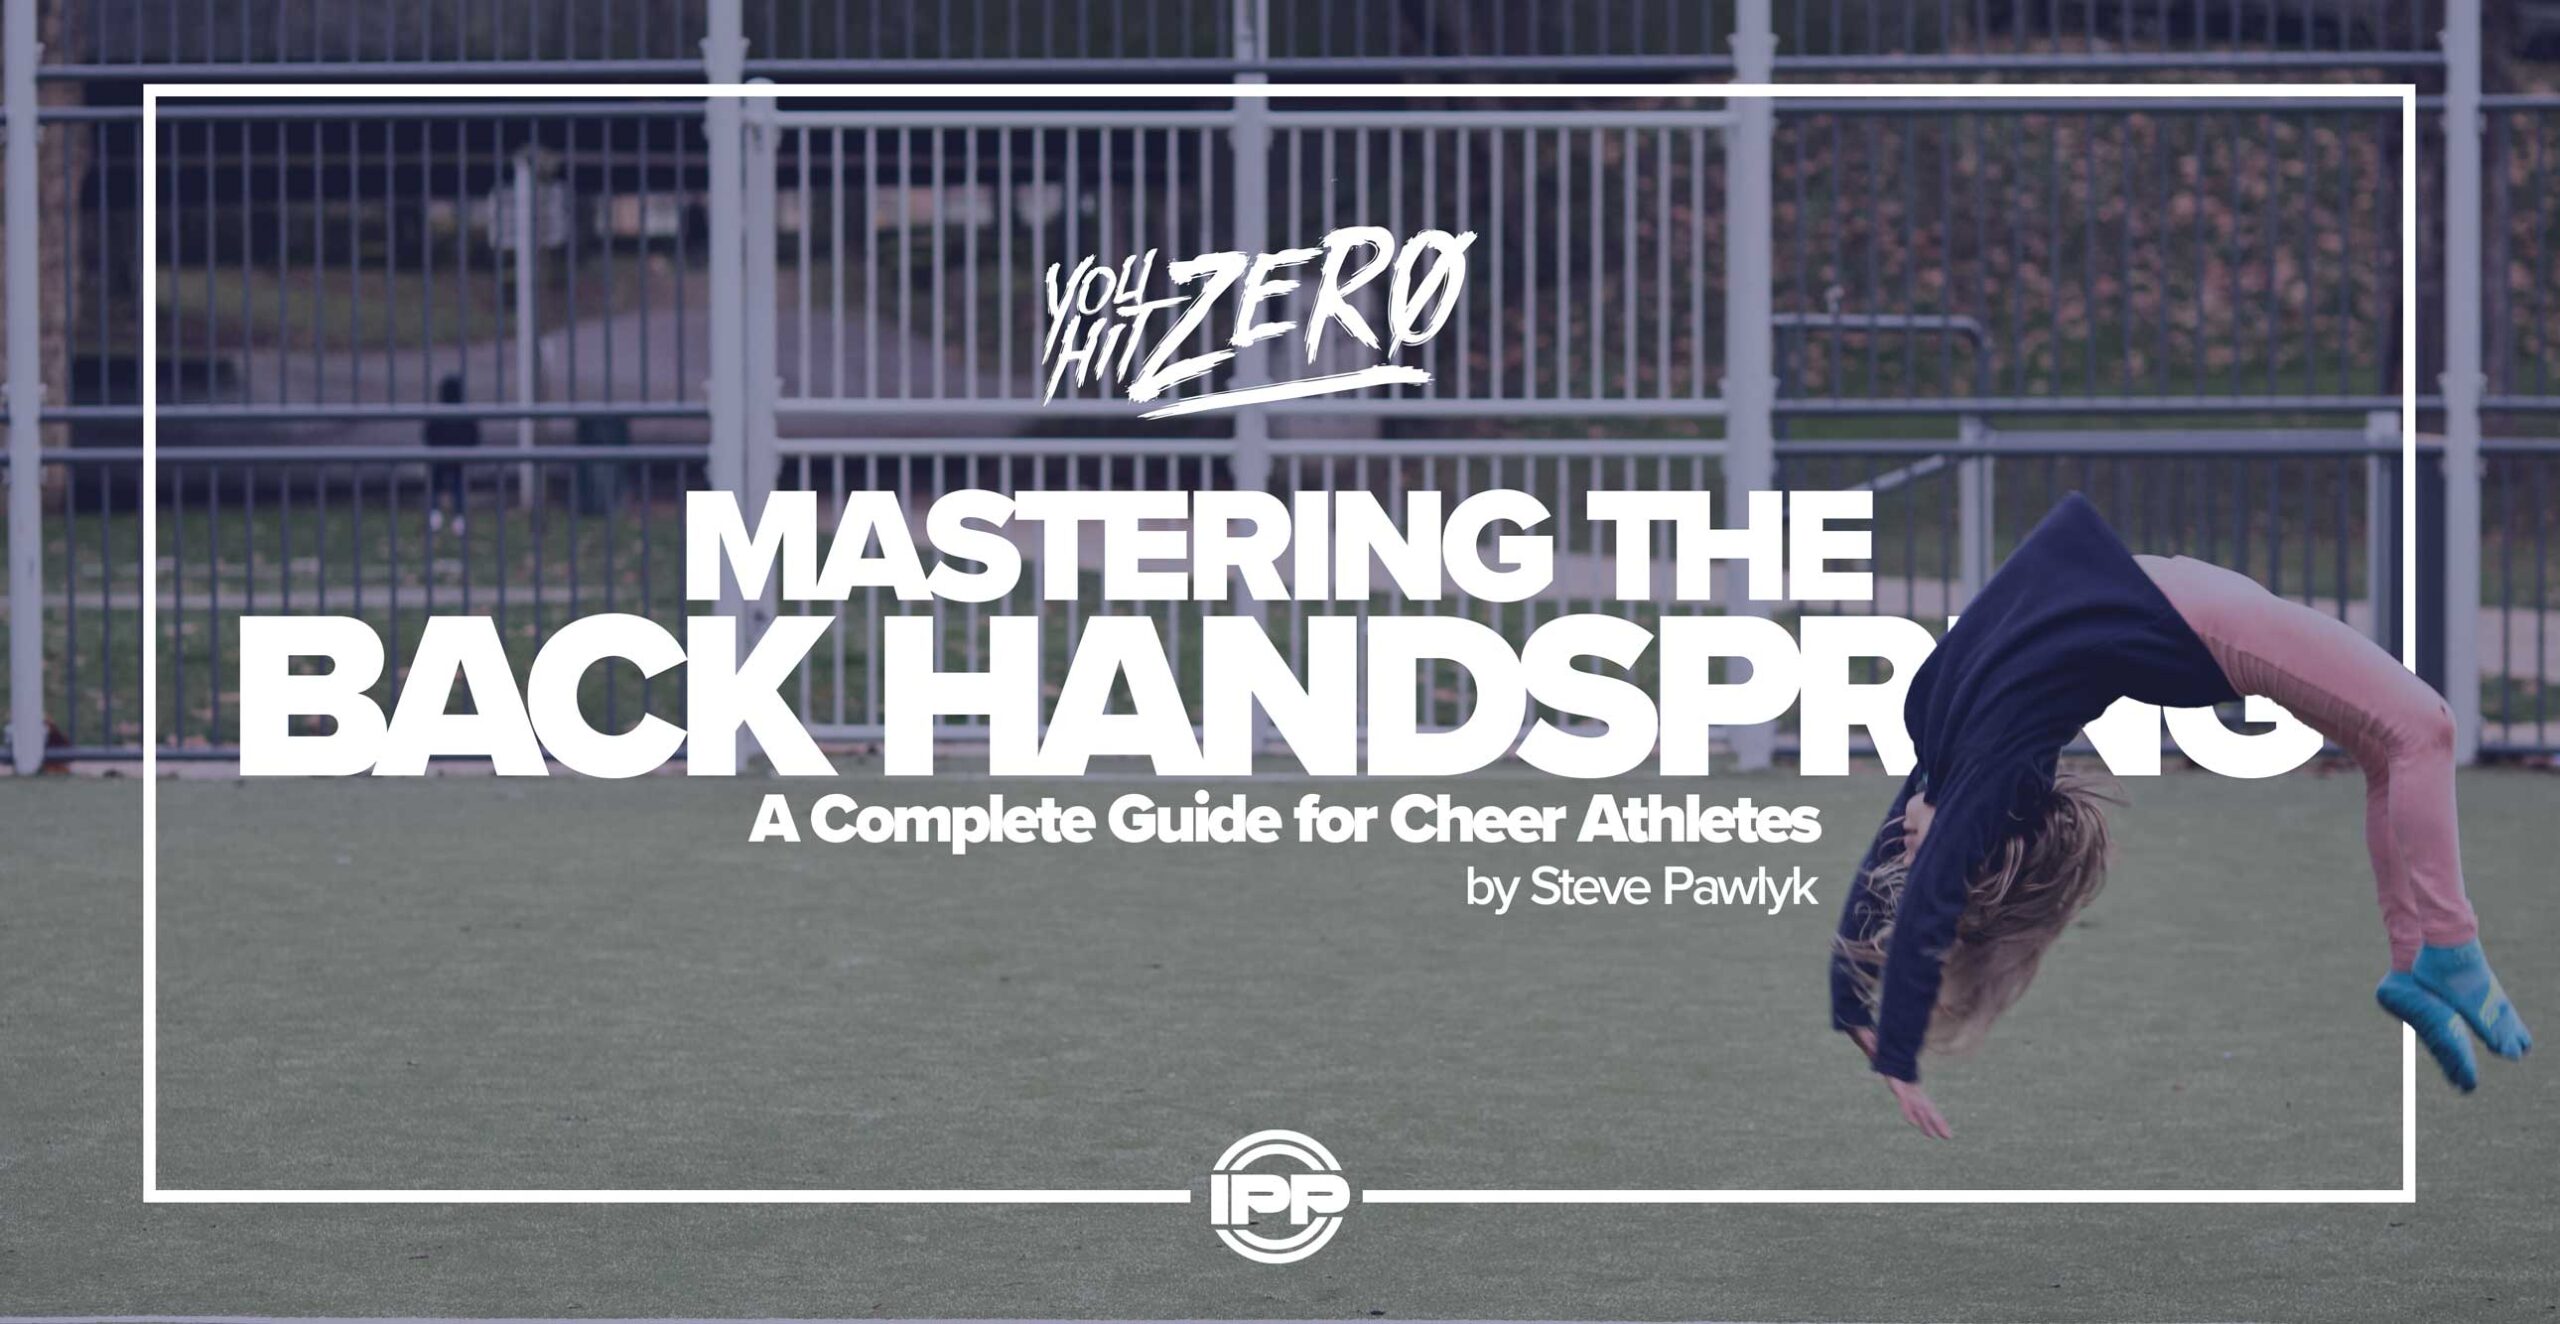
A back handspring, also known as a flip-flop or flick-flack, is an acrobatic move where the athlete jumps backwards onto their hands and then pushes off the ground to land back on their feet. It’s a mainstay in cheerleading and although it looks complex, it can be mastered with the right technique, consistent practice, and a few of our lesser-known tips and tricks.
Let’s start this journey to mastering the back handspring!
Stage 1: Strength and Flexibility Exercises
Before attempting the back handspring, it’s crucial to develop the necessary strength and flexibility. Here are some key exercises:
1. Handstands: Practicing handstands not only enhances your upper body strength but also accustoms your body to being upside down, a crucial aspect of the back handspring.
2. Hollow Body Holds and Rocks: These exercises strengthen your core, a vital area for executing a back handspring with control.
3. Bridge Push-ups: These help improve shoulder flexibility and strength.
4. Jump Squats: They increase leg power, crucial for launching your body into the back handspring.
5. Wrist and Ankle Mobility Exercises: Conditioning these areas is essential as they bear the impact in a back handspring.
Stage 2: Drilling the Technique
Once your strength and flexibility are up to par, start working on the technique. Initially, practice with a spotter or use equipment like a back handspring trainer or an incline mat.
1. Start Position: Stand straight, with your feet together. Bend your knees slightly and swing your arms backwards.
2. Jump Phase: Swing your arms forward and upwards, and push off the ground with your feet. At the peak of your jump, your body should be in a “C” shape with your hands reaching for the ground.
3. Handstand Phase: As your hands contact the ground, your legs should continue their upward momentum. Aim for a brief handstand position before moving into the next phase.
4. Push-Off Phase: Push hard off your hands, using your shoulder strength, allowing your hips and legs to flip over.
5. Landing Phase: Your feet should hit the ground at the same time, completing the jump.
Stage 3: Lesser-Known Tips and Tricks
After familiarizing yourself with the basics, it’s time to apply some insider secrets to refine your back handspring:
1. Spot the Landing: Many cheerleaders close their eyes while executing the back handspring. Try to keep your eyes open and spot the landing to improve accuracy and build confidence.
2. The Power of Visualization: Before performing a back handspring, visualize each phase in your mind. This mental rehearsal can greatly improve your technique.
3. Practice Patience: Mastering a back handspring can take time. Break down the technique into small parts and master each before moving on to the next. Remember, consistency is key!
4. Breathing is Essential: It’s common to hold your breath during this move, but proper breathing can enhance performance. Try to exhale during the jump and push-off phases.
5. Stay Tight: Keeping your body taut throughout the move can help maintain control and make the back handspring smoother.
Mastering the back handspring is a journey that demands dedication, persistence, and patience. Remember to always prioritize safety and never rush the process. Practice regularly, and don’t hesitate to seek help from a coach or spotter. With time, practice, and the right approach, you’ll be executing flawless back handsprings in no time!
Every journey starts with a single flip. Here’s to your back handspring journey, and remember, you’re just a hop, flip, and a jump away from making the crowd cheer! Keep hitting zero with IPP Music, and stay tuned for more tips, tricks, and cheerleading guidance.
IPP's Premade Mixes are USA Cheer Compliant and customizable! Add Sound FX, swap songs, & more! Add your Team Name to the mix for only $10!


