


Jul


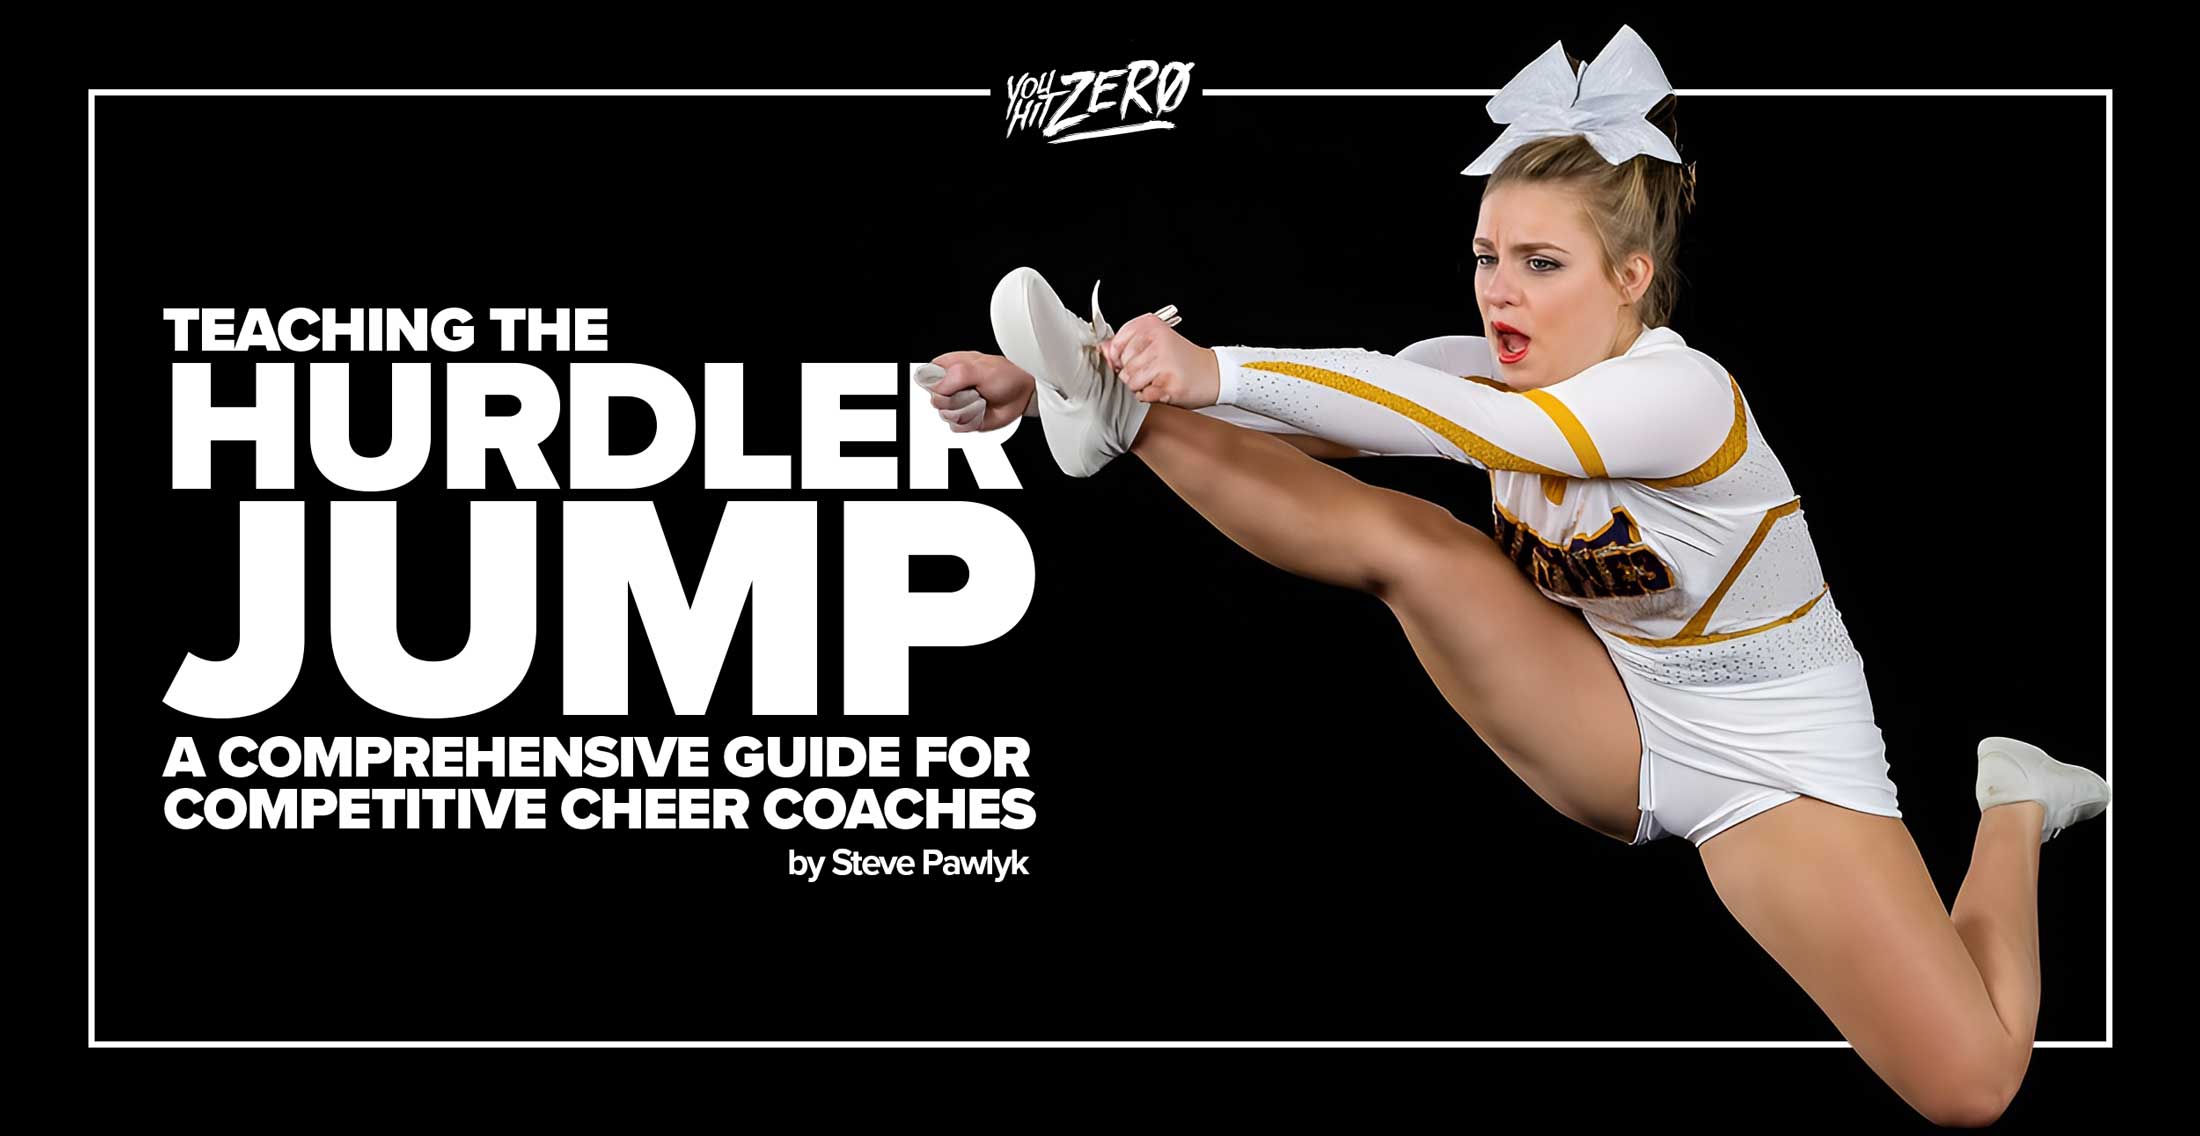
By Steve Pawlyk
Published July 9, 2025
If you’ve been coaching cheerleading for any length of time, you know that certain skills just make or break a routine. The hurdler jump? It’s definitely one of those game-changers. After spending years in the trenches coaching everyone from tiny mini athletes to college competitors, I’ve learned that teaching this jump isn’t just about demonstrating and hoping for the best. It’s about understanding the science, breaking down the progression, and meeting each athlete where they are.
So grab your coffee (or protein shake – no judgment here!), and let’s dive deep into everything you need to know about teaching the hurdler jump to young competitive cheerleaders.
Understanding the Anatomy of a Hurdler Jump
Before we even step foot on the mat, let’s get crystal clear on what we’re teaching. I’ve seen too many coaches confuse variations or teach hybrid versions that end up hurting scores at competition.
The Front Hurdler
This is probably what you’ll teach most often. Picture this: your athlete is positioned at a 45-degree angle to the crowd (this angle is crucial – straight-on looks awkward, and full profile hides the back leg). The leg furthest from the crowd will come up straight in front as high as possible, while the other bends behind. Arms can be in a touchdown or in a high V.
The key here is that straight leg – it should be reaching for the sky, ideally getting close to the athlete’s nose level. The back leg? That’s where things get interesting. The knee should be bent with the foot pulled up toward the glutes, and the knee itself should be pointing down toward the ground. Think of a track hurdler clearing a hurdle – hence the name!
The Side Hurdler
Less common but equally impressive when done right. Here, one leg extends to the side, while the other bends toward the back with the knee facing out. Arms should be in a “T” motion. The main difference? That bent knee faces the crowd rather than the ground, and the whole body orientation is different.
The “Not-a-Hurdler” (aka The Herkie)
Quick story time: Named for Lawrence Herkimer, the founder of the National Cheerleaders Association, this jump is similar to a side-hurdler, except that instead of both arms being in a T-shaped motion, both arms are opposite of what the leg beneath them is doing. The legend goes that Herkie couldn’t quite nail the hurdler, so he created his own version. It’s different enough that judges will dock points if your athletes throw a Herkie when they’re supposed to hit a hurdler!
Prerequisites: Building the Foundation
Here’s where I might ruffle some feathers, but I’m going to say it anyway: if your athletes aren’t ready, pushing them into hurdlers is a recipe for injury and frustration. Let’s talk about what “ready” really means.
Flexibility Requirements
Flexibility is the first area a cheerleader should address. If a cheerleader is tight throughout her hamstrings, groin, or lower back they must stretch. Range of motion is the number one cause of injuries.
Here’s my flexibility checklist for hurdler-ready athletes:
Hamstring Flexibility Test:
- Have the athlete lie on their back
- Lift one straight leg up while keeping the other flat on the ground
- They should reach at least 90 degrees without the bottom leg lifting
- Less than that? Time for targeted stretching
Hip Flexor Mobility Test:
- Lunge position with back knee on the ground
- Push hips forward gently
- If they feel extreme tightness or can’t keep their torso upright, those hip flexors need work
Dynamic Flexibility Check:
- Standing leg swings forward and back (should reach at least hip height)
- Standing kicks to the front (controlled, not ballistic)
- If they’re struggling here, the jump will be a struggle too

Strength Prerequisites
Flexibility without strength is like having a sports car with no engine. Here’s what your athletes need:
Core Strength: Can they hold a hollow body position for 30 seconds? If not, start there. The core is what keeps that chest up during the jump.
Leg Power: Single-leg squat test – can they do at least 5 on each leg with good form? This translates directly to jump height.
Hip Flexor Strength: Have them lie on their back and lift one straight leg up and down 10 times without touching the ground. If they’re shaking by rep 5, you’ve found a weakness to address.
The 12-Week Progressive Teaching Method
After years of trial and error (emphasis on the error in my early coaching days), I’ve developed this progression that actually works. The timeline can be compressed or extended based on your athletes’ abilities, but don’t skip steps!
Weeks 1-3: Flexibility and Strength Foundation
Week 1: Assessment and Flexibility Focus
Start every practice with what I call the “Hurdler Prep Circuit”:
- 5 minutes of dynamic warm-up (high knees, butt kicks, leg swings)
- 10 minutes of targeted stretching:
- Pike stretch holds (30 seconds x 3)
- Butterfly stretch for hip opening (30 seconds x 3)
- Standing quad stretches (30 seconds each leg x 2)
- Seated hurdler stretch (the actual position) – 30 seconds each side x 3
Ground position work:
- Have athletes sit in the hurdler position on the floor
- Focus on proper positioning: straight leg fully extended, bent leg tucked comfortably
- Hold for 30 seconds, switch sides
- Progress to lifting the arms to touchdown position while seated
Week 2: Building Specific Strength
Add resistance work:
- Theraband kicks: 3 sets of 10 each leg (front and side)
- Single-leg glute bridges: 3 sets of 10 each leg
- Core work specific to jumps:
- Hollow holds (work up to 45 seconds)
- V-ups focusing on keeping chest high (3 sets of 10)
- Russian twists with emphasis on tall posture (3 sets of 20)
Continue flexibility work and add:
- Partner stretching for deeper range of motion
- PNF stretching techniques (contract-relax method)
Week 3: Movement Patterns
Time to get moving:
- Walking hurdlers: Literally walk across the floor hitting the position with each step
- Hurdler holds against the wall: Kick up and hold the position for 5 seconds
- Jump prep without the hurdler:
- Straight jumps focusing on landing (3 sets of 5)
- Tuck jumps for height (3 sets of 5)
- Single-leg bounds for power (3 sets of 5 each leg)
Weeks 4-6: Introduction to the Jump
Week 4: Breaking Down the Prep
The prep is everything. After you count 5, 6, 7, 8, on the first 1, 2 bring your hands into a “clasp” right under your chin and hold them there for those two counts. On 3, 4, proceed to a “High-V” and hold that motion for those two counts.
Drill this until it’s automatic:
- Prep practice: 50 reps of just the arm sequence
- Add the knee bend on counts 3, 4
- Practice the swing through without jumping
- Mirror work: Athletes watch themselves to ensure chest stays high
Week 5: Adding the Jump
Start small:
- Mini hurdlers: Jump just a few inches off the ground, focus on hitting the position
- Use a prop: Have them jump and touch their knee to a coach’s hand held at appropriate height
- Box jumps with hurdler position: Jump onto a small box (6-12 inches) landing in hurdler
- Video review: Film each athlete and review together
Common issues at this stage:
- Chest dropping (fix: “pretend there’s a string from your chest to the ceiling”)
- Arms not hitting position (fix: practice arms separately 100 more times)
- Bent leg not pulling up (fix: hamstring curls and targeted strength work)
Week 6: Height and Extension
Now we’re cooking:
- Full jump attempts with focus on ONE aspect at a time:
- Monday: Just focus on chest position
- Tuesday: Just focus on straight leg height
- Wednesday: Just focus on bent leg position
- Thursday: Just focus on arms
- Friday: Put it all together
- Introduce combination work: Hurdler to immediate rebound
Weeks 7-9: Refinement Phase
Week 7: Technical Precision
Details matter in competitive cheer:
- Toe point drills: Even in warm-ups, toes are pointed
- Landing practice: Make sure to land properly with your feet together, toe to heel and with bent knees
- Timing with music: Start incorporating counts and rhythm
- Side-by-side comparisons: Athletes watch each other and provide feedback
Week 8: Power Development
Complete 6 to 8 reps of the hurdler with resistance bands while maintaining technique for maximal jump height and kick height:
- Resistance band training (if appropriate for age/level)
- Plyometric progressions:
- Depth jumps from 6-inch box
- Broad jumps focusing on explosive takeoff
- Single-leg bounds with hurdler arms
- Recovery focus: Teach proper stretching and foam rolling
Week 9: Consistency Building
The goal: 8 out of 10 perfect:
- Set-based training: 5 sets of 3 jumps, rest between sets
- Fatigue training: Hurdlers at the end of practice when tired
- Pressure training: Perform for other teams or parents
- Video analysis: Athletes self-assess using rubric
Weeks 10-12: Competition Ready
Week 10: Combinations and Connections
Real routines require connected skills:
- Hurdler to toe touch combinations
- Running tumbling into hurdler
- Hurdler to immediate cradle prep (for younger teams)
- Focus on maintaining height through fatigue
Week 11: Mental Preparation
The mental game is huge:
- Visualization exercises: Athletes close eyes and see perfect hurdler
- Positive self-talk training: Replace “I can’t” with “I’m learning”
- Competition simulation: Full routine run-throughs
- Individual goal setting: Each athlete sets personal best goals
Week 12: Polish and Peak
Time to shine:
- Full routine integration
- Focus on performance quality, not just technique
- Team synchronization drills
- Confidence building through success tracking
Advanced Drills That Actually Make a Difference
Here are the drills I’ve collected over the years that really move the needle:
The Wall Series
Basic Wall Kicks:
- Stand arm’s length from wall
- 20 kicks straight up, trying to touch above head marker
- Progress to faster tempo
- Add ankle weights for advanced athletes (with caution)
Wall Hurdler Holds:
- Back against wall
- Jump and press back against wall in hurdler position
- Hold for 3-5 seconds
- Builds muscle memory and strength
Partner Drills
Assisted Hurdlers:
- Partner holds athlete’s hands
- Athlete jumps while partner provides slight upward assistance
- Gradually reduce assistance
- Great for building confidence
Resistance Partners:
- Partners hold resistance bands attached to jumper’s waist
- Provides resistance on the way up, assistance on the way down
- Builds explosive power
Equipment-Based Progressions
Box Jump Variations:
- Single leg box jumps (builds unilateral power)
- Hurdler position box jumps
- Depth jump to hurdler (advanced only)
Trampoline Work (if available):
- Allows athletes to feel the position with more air time
- Reduces impact during learning phase
- Great for athletes afraid of the skill
Troubleshooting Common Problems
Let’s get real about the issues you’re going to see over and over:
Problem 1: The Dreaded Chest Drop
It’s important not to cut off the height of your jump by tilting your chest forward. This is THE most common issue.
Why it happens:
- Lack of core strength
- Trying to kick too high too soon
- Poor spatial awareness
Fix it:
- Wall sits with arms in touchdown (builds postural strength)
- Video review from side angle
- Verbal cue: “Show your number to the judges!”
- Physical cue: Light tap on upper back during prep
Problem 2: The Lazy Back Leg
The tendency is to concentrate so hard on kicking your front leg, that you don’t realize that the back leg is still dangling around down there.
Why it happens:
- All focus goes to the front leg
- Lack of hamstring strength
- Poor muscle activation patterns
Fix it:
- Isolated back leg drills: Just practice the bent leg portion
- Hamstring curls with resistance bands
- Mental cue: “Kick your heel to your booty!”
- Partner feedback: Have partner tap the heel when it’s in correct position
Problem 3: Sloppy Feet
Judges notice everything, and floppy feet scream “recreational team.”
Why it happens:
- Never been properly trained
- Lack of ankle strength
- Poor habit formation
Fix it:
- Releve walks across the floor
- Theraband foot exercises
- Point and flex drills during every water break
- Make it non-negotiable: pointed toes from warm-up to cool-down
Problem 4: The Split Landing
Nothing ruins a beautiful hurdler like a sloppy landing.
Why it happens:
- Uneven leg strength
- Poor spatial awareness
- Trying to land before ready
Fix it:
- Landing drills separate from jumps
- Single leg landing practice
- Visual markers on the floor
- Verbal cue: “Feet like magnets!”
Creating the Right Training Environment
Your gym’s culture makes or breaks skill development. Here’s how to optimize:
Space Considerations
Minimum requirements:
- 8×8 feet per athlete for safe practice
- Ceiling height of at least 12 feet
- Spring floor or quality mats
- Mirrors on at least one wall
Safety Protocols
Non-negotiables:
- 10-minute dynamic warm-up (every. single. practice.)
- Proper landing surface
- Athlete-to-coach ratios (I recommend 8:1 maximum for jump training)
- Clear progression requirements before moving to next level
Building Confidence
Remember: confidence builds skills as much as drills do.
Strategies that work:
- Celebrate small wins publicly
- Use positive correction: “I love your height! Now let’s add that toe point!”
- Film progress videos monthly so athletes see improvement
- Create skill-specific awards or recognition
Creating Buy-In From Athletes and Parents
Success requires everyone on board:
Athlete Buy-In
Make them partners:
- Explain the “why” behind each drill
- Let them track their own progress
- Create peer mentorship opportunities
- Connect skills to their goals
Parent Education
Informed parents = supportive parents:
- Host a skills education night
- Send home progress videos
- Explain the progression timeline
- Share the injury prevention focus
Final Thoughts: The Art and Science of Coaching
Teaching the hurdler jump is about so much more than just the mechanics. It’s about building confident, strong athletes who understand that excellence comes from consistent, focused effort. Every athlete will progress at their own pace, and that’s not just okay – it’s expected.
I’ve been fortunate to work with thousands of athletes over my years coaching, from tiny three-year-olds taking their first cheer class to Division 1 college competitors. The one constant? The athletes who master the fundamentals with patience and proper progression are the ones who excel long-term.
Remember, we’re not just teaching a jump. We’re teaching discipline, body awareness, goal setting, and the value of quality practice. These lessons extend far beyond the mat.
Your athletes don’t need to be perfect on day one, week one, or even month one. They need to be progressing, staying safe, and building confidence. Focus on the journey, not just the destination, and you’ll develop not just better cheerleaders, but better athletes and people.
Keep your energy high, your corrections positive, and your standards consistent. Before you know it, you’ll have a team throwing hurdlers that make the crowd go absolutely wild – and more importantly, you’ll have athletes who are proud of what they’ve accomplished through hard work and dedication.
Now get out there and start building those champion hurdlers! Your athletes are counting on you to guide them to success, and with this comprehensive approach, you’ve got everything you need to make it happen.
Stay passionate about the process,
P.S. – Remember to document the journey. Those “before” videos from week 1 compared to competition performances? Pure gold for showing athletes how far they’ve come. Plus, they make great material for end-of-year banquets!
Check out the conversation on our podcast “You Hit Zero”

IPP's Premade Mixes are USA Cheer Compliant and customizable! Add Sound FX, swap songs, & more! Add your Team Name to the mix for only $10!