Tag Archives: cheer core strength

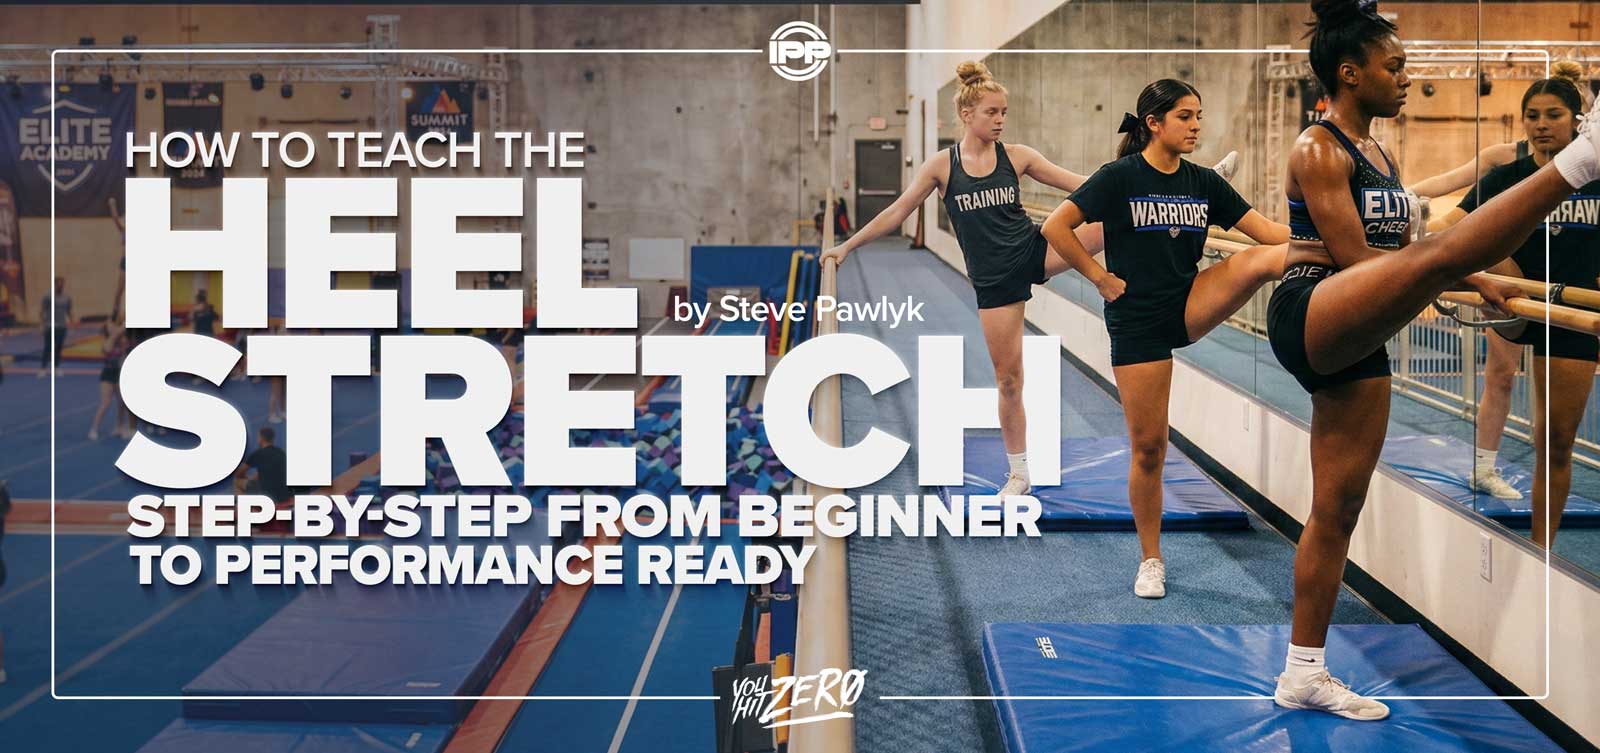
How to Teach the Heel Stretch: Step-by-Step From Beginner to Performance Ready

How to Teach the Heel Stretch Step by Step From Beginner to Performance Ready

By Steve Pawlyk

Published March 2, 2026

The Heel Stretch is one of the most recognizable flyer skills in competitive All-Star cheerleading — and one of the easiest to perform incorrectly. A clean Heel Stretch requires more than flexibility; it depends on balance, body awareness, and coordinated engagement through the core, back, and shoulders. Whether you’re coaching a first-time flyer or refining elite athletes, teaching this skill systematically helps prevent common issues like bent supporting legs, wobbly bases, and over-pulled extensions.
This guide walks you through a complete progression for teaching the Heel Stretch, including one-on-one coaching methods, small group practice structures, team integration, and drills for strength, balance, and flexibility.
all star cheer coaching heel stretch drills

Understanding the Mechanics of the Heel Stretch

Definition:
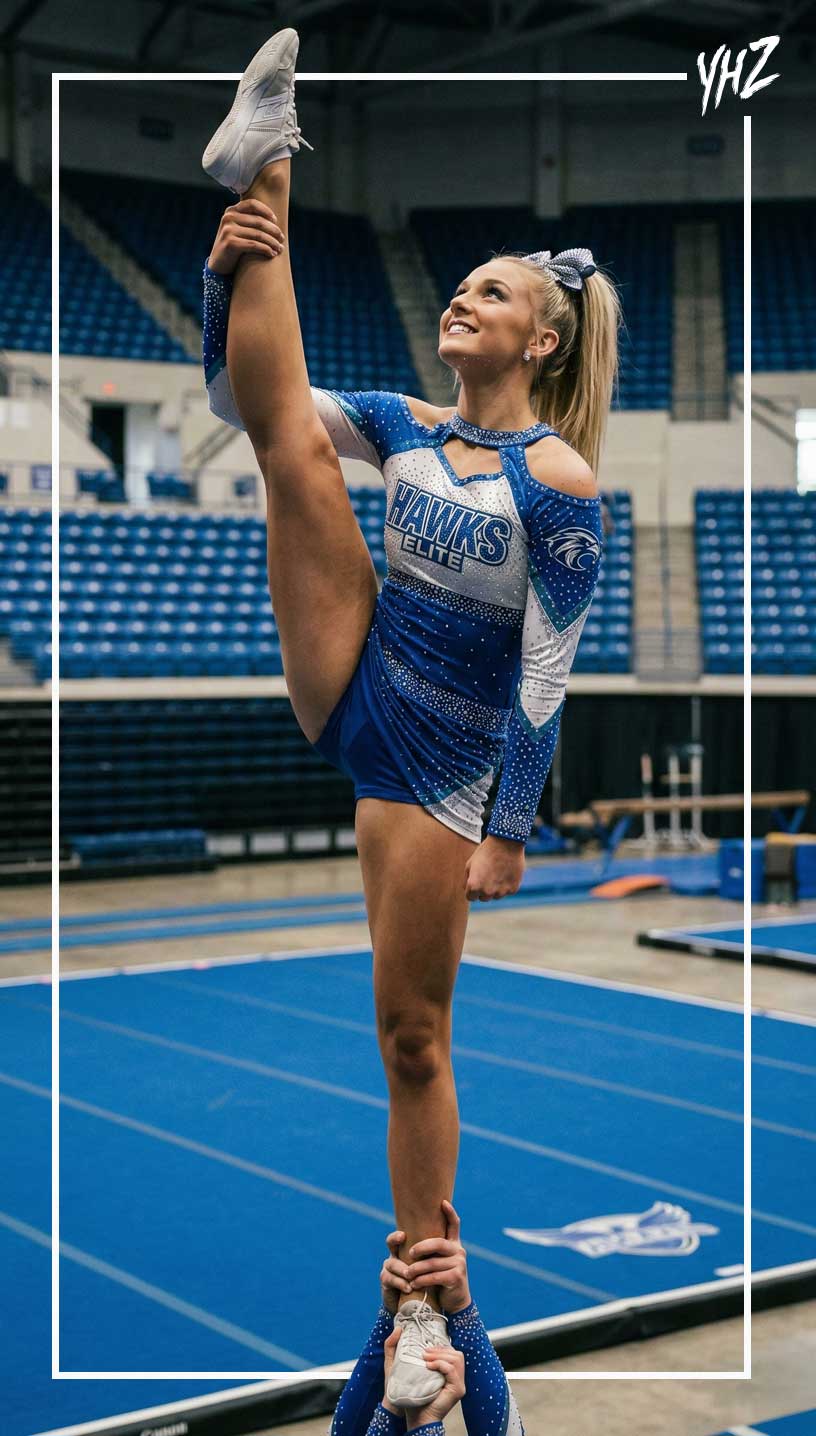
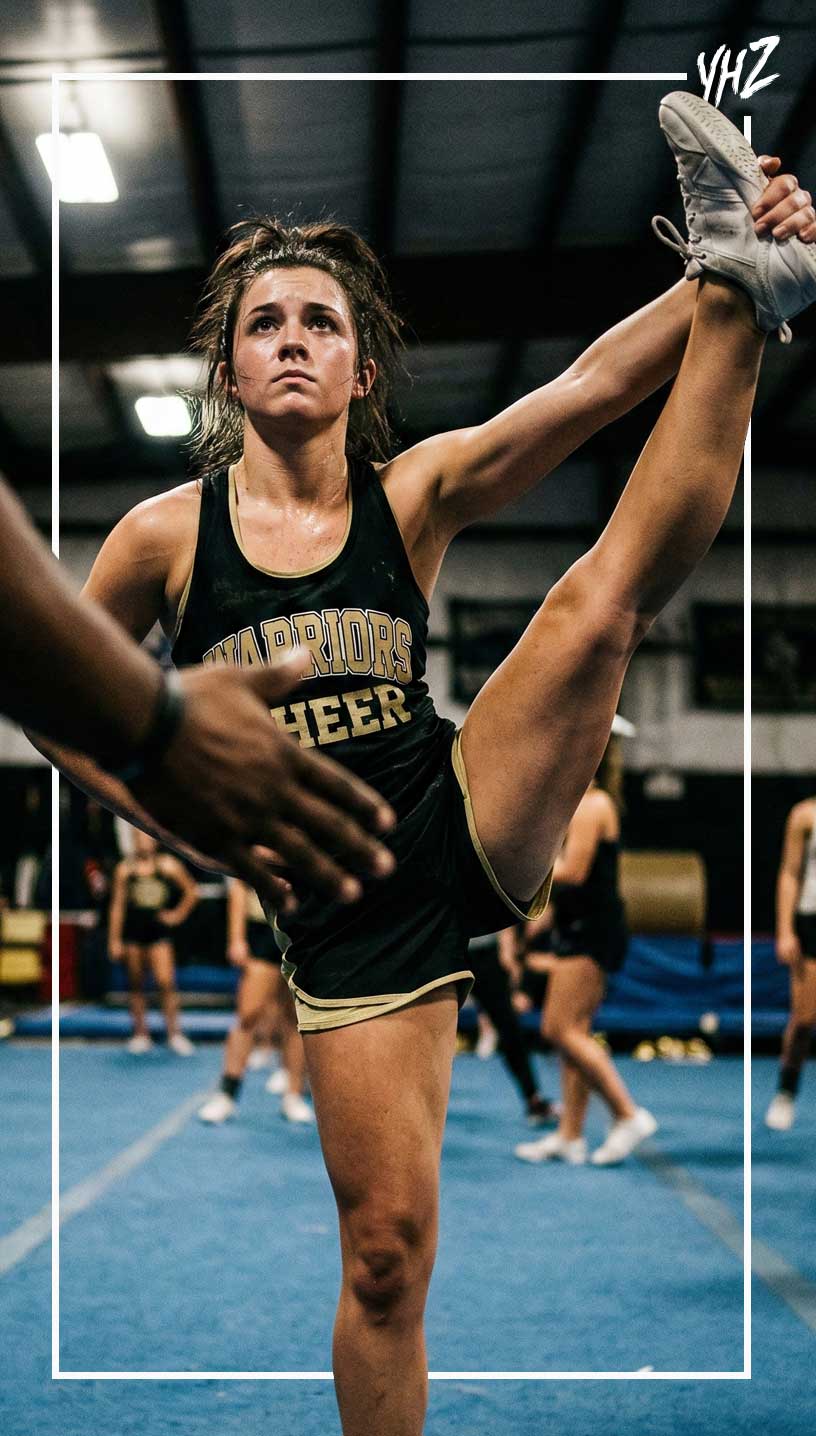
A Heel Stretch is a stunt or body position where the flyer balances on one leg while pulling the opposite leg straight upward, holding the heel with the same-side hand, and extending it near the head.

Technical Breakdown:

  • Base leg: Strong, locked, and aligned over the foot center.
  • Pulling arm: Reaches across to grab the same-side foot (right hand to right foot).
  • Pulling leg: Straightened through the knee, ankle pointed, foot flexed slightly inward.
  • Core: Engaged and centered; ribs remain stacked over hips.
  • Shoulders: Square, not twisted toward the pulled leg.
  • Chest: Lifted and open.

Key Concept:
The Heel Stretch isn’t a flexibility move — it’s a balance and control move that happens to require flexibility.

Step-by-Step: Teaching the Heel Stretch One-on-One

Step 1: Warm-Up and Flexibility Prep

Before any attempts, the flyer must stretch hamstrings, hips, and shoulders.

  • Dynamic prep: Leg swings, high kicks, and hip circles.
  • Static stretches: Pike stretch, seated straddle, standing quad hold.
    Cue: “Flexibility is freedom — control is what makes it beautiful.”

Step 2: Teach the Proper Grip

  • Have the athlete lift one leg slightly and grab the heel (not the arch or ankle).
  • Cue: “Thumb on the inside, fingers wrapping around the outside edge.”
  • The arm should extend upward and slightly outward to allow shoulder space.

Need Competition Music Blue 1

Step 3: Build Core Balance on the Ground

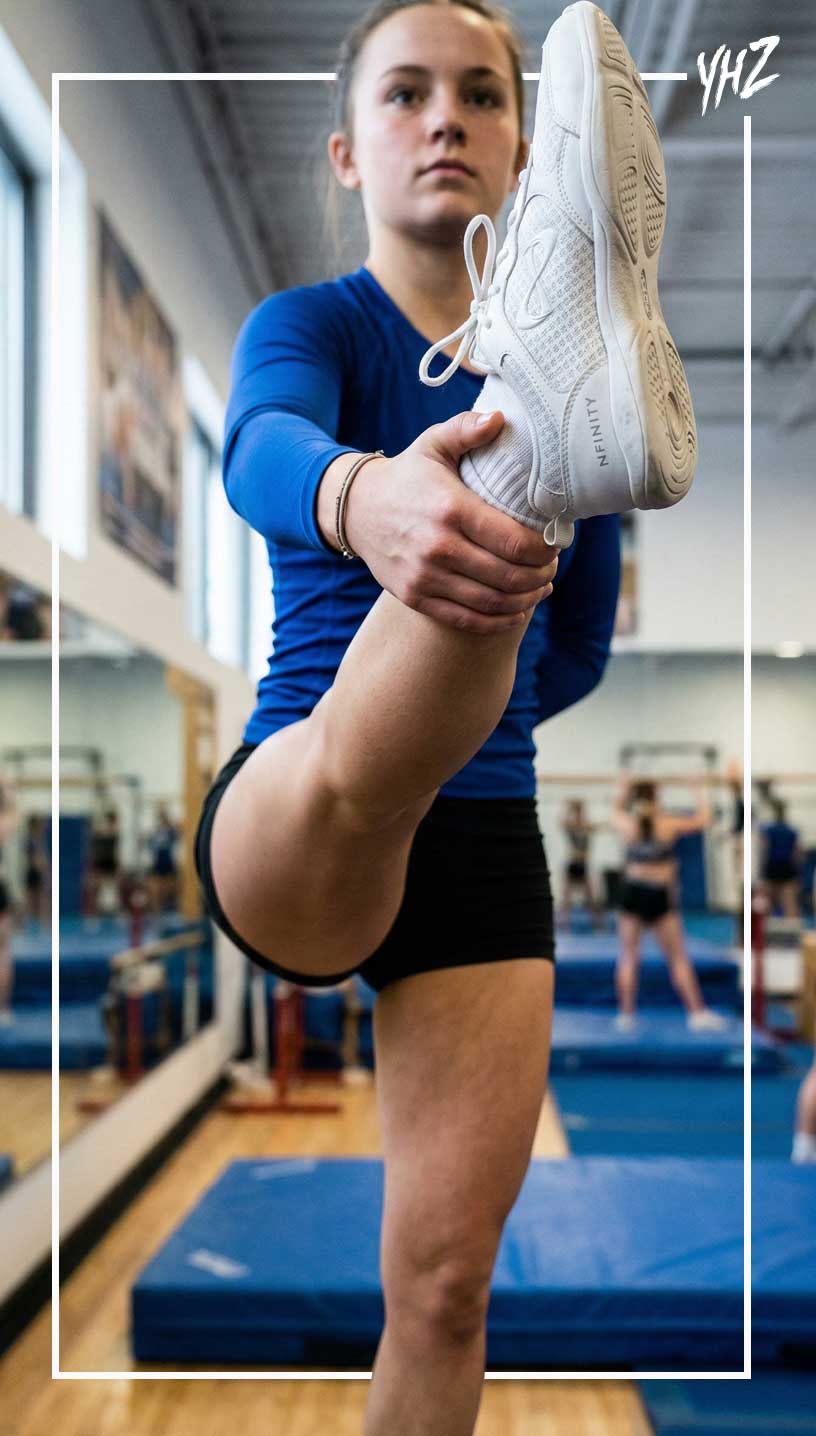
  • Begin on flat ground in front of a mirror.
  • Athlete holds a wall or barre for balance while lifting leg to waist level.
  • Cue: “Keep your standing knee locked and your hips even.”
  • Focus on posture and tension before adding height.

Step 4: Gradually Increase Height

Use progressive height goals:

  • Waist level → chest level → chin level → full extension.
    Between each, correct for shoulder tilt, bent leg, or hip rotation.

Step 5: Isometric Holds for Strength

  • Hold the Heel Stretch for 5–10 seconds, release slowly.
  • Cue: “Pull up through your heel, not from your back.”
  • Repeat 5 times per leg for strength and endurance.
cheer balance drills body control leg flexibility

Teaching Small Groups

Step 1: Partner Assistance for Grip and Balance

Pair flyers with a partner or coach to stabilize shoulders and hips.

  • The partner gently supports the flyer’s wrist or extended leg for form.
  • Cue: “Balance through your belly button — not your hand.”

Step 2: Mirror Group Training

Have 3–4 flyers practice Heel Stretches side by side facing mirrors.
Visual feedback helps reinforce symmetry and prevent over-pulling.

Step 3: Controlled Release Drills

Flyers practice controlled lowering from full stretch to prep position in 3 counts.
Cue: “Lower with control — don’t drop your power.”
cheer heel stretch flyer heel stretch

Teaching the Full Team

Step 1: Progression-Based Grouping

Divide flyers by readiness level:

  • Level 1: Learning grip and hip alignment.
  • Level 2: Holding at chest/chin height.
  • Level 3: Full extension and stability.

Each group works specific goals simultaneously to keep all athletes engaged.

Step 2: Integration With Bases

When progressing to stunt groups:

  • Bases must focus on stability first, not height.
  • Cue bases: “Drive through your legs, not your arms.”
  • Cue flyers: “Stand tall before you stretch — don’t chase the leg.”

Step 3: Team Visual Cohesion

When multiple Heel Stretches are performed at once (e.g., pyramid or opening stunt sequence), use video review to check for consistent pull angles and line heights.

Common Athlete Errors and How to Correct Them

Error

Cause

Correction Strategy

Bent pulling leg

Lack of hamstring flexibility

Add daily hamstring stretches and band-assisted leg lifts.

Hips rotate open

Over-pulling or weak glutes

Cue: “Square your hips to the front.” Incorporate hip stability drills.

Chest drops forward

Core disengagement

Add hollow holds and planks; cue “Lift your ribs.”

Shoulders twisted

Pulling across the body

Adjust grip; cue “Keep your sternum forward.”

Wobbling base leg

Weak ankle or poor balance

Train balance on Bosu ball or single-leg squats.

Drills to Build Heel Stretch Mastery

  1. Wall-Assisted Heel Stretch
    Flyer stands near wall, uses fingertips for support. Practice slow lifts to build stability and balance.
  2. Elastic Band Leg Lifts
    Attach a resistance band to the foot and hold the other end in the hand. Lift the leg upward for 8 reps to strengthen hip flexors.
  3. Three-Phase Hold Drill
    Lift and hold Heel Stretch for 3 counts, release halfway for 3 counts, then return to full stretch. Builds endurance and control.
  4. Mirror Line Drill
    Perform Heel Stretch facing mirror, aligning both hips and shoulders to the visual line.
  5. Full-Team Balance Challenge
    All flyers hold Heel Stretch for 10 seconds. Any wobble restarts the clock. Promotes focus and balance under pressure.

Conditioning for Heel Stretch Power and Stability

  • Single-leg Romanian deadlifts: 3×10 each leg for balance and hamstring control.
  • Core rotations with resistance band: 3×15 to stabilize trunk.
  • Glute bridges and clamshells: 3×20 for hip alignment.
  • Overhead shoulder presses: 3×12 for supporting arm endurance.
    Cue: “Every muscle that holds you still makes your Heel Stretch better.”

Final Coaching Takeaways

A perfect Heel Stretch blends flexibility with control. Teach it progressively — never force it. Prioritize core engagement, posture, and hip alignment before height. The best Heel Stretches look effortless because the strength and balance behind them are trained deliberately. With repetition and precision, your flyers will perform controlled, confident Heel Stretches that wow both judges and spectators.
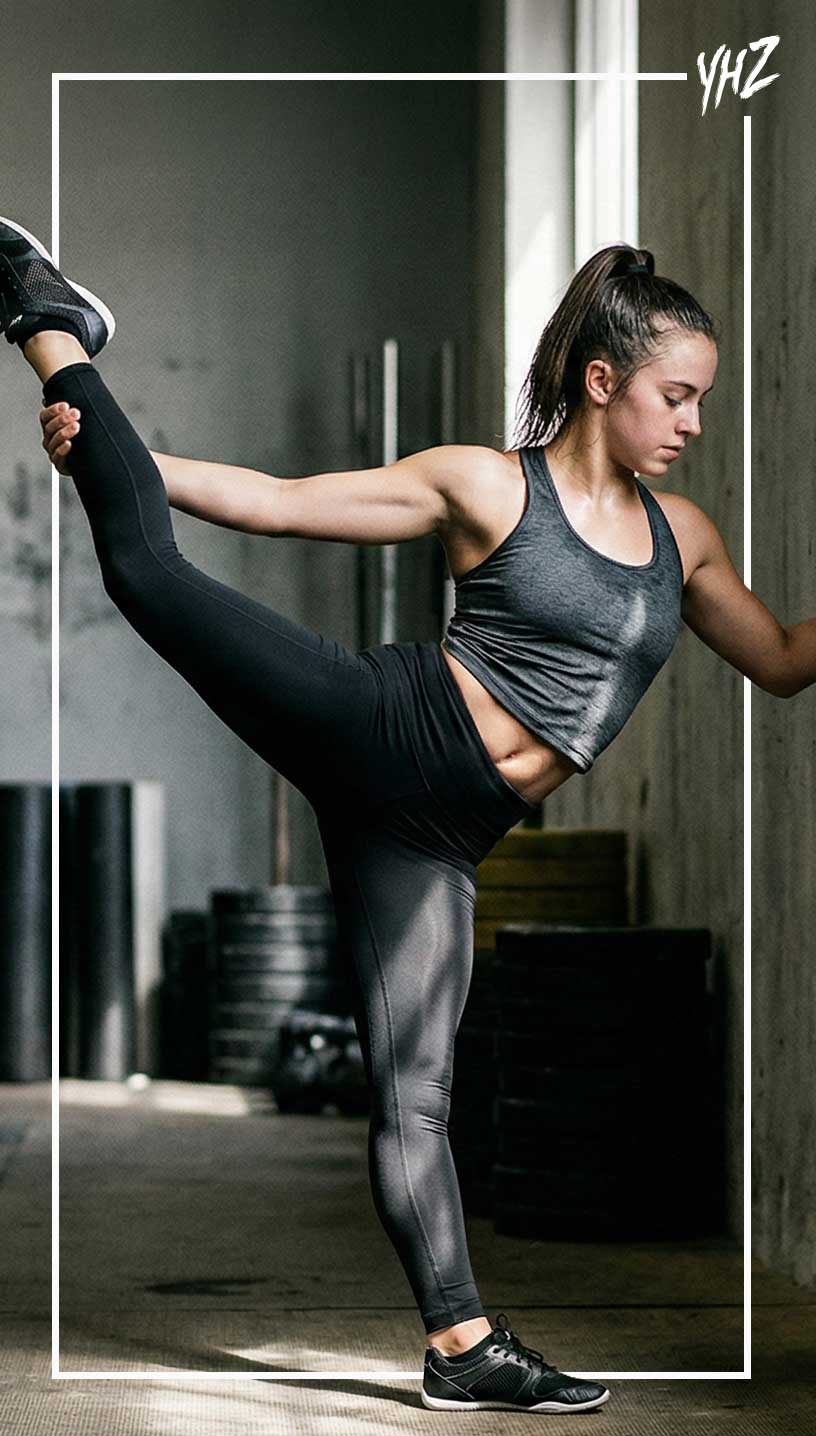
cheer heel stretch technique

Steve Pawlyk Signature Full

IPP's Premade Mixes are USA Cheer Compliant and customizable!  Add Sound FX, swap songs, & more!  Add your Team Name to the mix for only $10! 

SLAM artwork
Full_Out_130 mp3 image
1 minute cheer mix
WAKE UP THE FIRE
SLAM artwork
WAKE UP THE FIRE
Full_Out_130 mp3 image
1 minute cheer mix

How to Build Muscle Memory for Strong, Consistent Motions Through Repetition Drills

How to Build Muscle Memory for Strong Consistent Motions Through Repetition Drills

By Steve Pawlyk

Published November 18, 2025

Consistency in motion execution is what makes a cheer team look professional and synchronized under pressure. Every perfect hit, clean line, and timed transition is the product of muscle memory – the body’s ability to reproduce movement automatically after enough structured repetition. Building that memory isn’t about doing endless reps; it’s about doing the right reps, with precision, timing, and awareness.
This guide provides All-Star and High School coaches with a system for teaching athletes how to engrain sharp motions into their neuromuscular patterns through progressive drills, cue phrasing, and conditioning that reinforce strength and accuracy over fatigue.

Understanding Muscle Memory in Cheer Technique

Definition:
Muscle memory is the automatic execution of a movement pattern through repeated neural reinforcement. When taught correctly, it allows athletes to hit perfect motions even under stress or fatigue.

How It Works:

  1. Cognitive Stage: Athlete consciously focuses on technique and positioning.
  2. Associative Stage: Movements become smoother as the brain refines timing and coordination.
  3. Autonomous Stage: The athlete executes motions without conscious effort – consistency achieved.

Key Principle:
Repetition alone doesn’t create good muscle memory – perfect repetition does. Poorly executed reps hardwire bad habits.

cheer muscle memory

Step-by-Step: Building Muscle Memory One-on-One

Step 1: Lock in Perfect Form

Before any repetition begins, correct form must be flawless.
Cue: “You’re not training speed yet – you’re training accuracy.”

  • Have the athlete hold each motion (High V, T, Low V, etc.) for 10 seconds.
  • Check alignment: wrists, elbows, shoulders, and posture.
  • Only when it’s perfect, begin repetitions.

Step 2: Use Isolated Reps

Perform each motion independently for 20–30 reps.

  • Start slow (counted tempo).
  • Cue: “Every hit should feel identical – no freelancing.”
  • Record video for self-analysis if possible.

Step 3: Add Controlled Transitions

After form mastery, link two or three motions together (e.g., T → High V → Low V).
Cue: “Same path, same stop, same body tension every time.”

Step 4: Integrate Feedback Loops

Have the athlete perform 10 reps, pause, and assess one technical element (e.g., wrist height).
This breaks the mindless repetition cycle and keeps focus on micro-correction.

Teaching Small Groups

Step 1: Repetition Blocks

Group athletes in sets of 3–5 and assign a “motion captain.”

  • The captain counts rhythm and monitors alignment.
  • After 20 reps, rotate captains to develop peer correction habits.

Step 2: The “Mirror Wall” Method

Line up facing mirrors. Perform the same motion sequence simultaneously.
Cue: “Every reflection should move as one body.”

Step 3: Accountability Through Counting

Use a metronome or voice count (“1-2-HIT”) to unify timing.
If anyone breaks rhythm or position, the group restarts.
Encourages focus, teamwork, and precise repetition.

Teaching Full-Team Consistency

Step 1: Team Motion Circuits

Design circuits combining 4–6 motions repeated for 8-count cycles.
Example: High V → T → Punch → Low V → High V → T
Run for 4 sets of 8 counts each, resting 15 seconds between.

Cue: “Every rep builds your muscle’s memory bank – make it count.”

Step 2: Layered Speed Progression

  1. Slow drills for angle control.
  2. Medium-speed drills for rhythm.
  3. Full-speed music drills for endurance and performance readiness.

Step 3: Coach’s Visual Consistency Check

Record full-team reps from multiple angles.
Freeze frames to compare arm levels, tension, and spacing.

Need Competition Music Blue 1

Coaching Language That Reinforces Repetition Quality

Effective Cues:

  • “Precision over pace.”
  • “Your body learns what you repeat – teach it the right thing.”
  • “Every rep is a blueprint.”
  • “Consistency lives in your shoulders and core.”
  • “Don’t just move – memorize.”

Avoid:

  • “Again!” without feedback – it trains errors.
  • “Faster!” before accuracy is built.

Common Athlete Errors and How to Correct Them

Error

Cause

Correction Strategy

Inconsistent arm height

Visual feedback missing

Mirror or video recording between reps.

Fatigue leading to slouch

Weak shoulder/core endurance

Add plank variations and static V-holds.

Speed sacrificing control

Overemphasis on tempo

Return to half-speed repetitions with counts.

Bent elbows mid-rep

Poor tension control

Cue: “Steel arms, soft shoulders.” Use resistance bands.

Uneven motion timing

Lack of auditory rhythm

Drill with metronome or 8-count track.

Drills to Build Long-Term Muscle Memory

  1. Timed Repetition Sets
    Perform 30 seconds of continuous motions, focusing on identical form each rep. Rest 15 seconds. Repeat 3 sets.
  2. Mirror Match Drill
    Partner athletes to mirror one another’s timing and motion accuracy. Visual reinforcement builds synchronization.
  3. Count Control Drill
    Run 8-count transitions slowly, freezing on each count. Forces awareness of arm path and pause integrity.
  4. “Fade Test” Drill
    Perform 25 perfect reps, then 5 more at fatigue level. Evaluate how form deteriorates. Reinforces endurance awareness.
  5. Endurance Ladder
    Add one rep per round (10 → 11 → 12, etc.). Athletes must maintain quality under load.

Conditioning for Muscle Memory Retention

Muscle memory relies on neural efficiency and physical endurance. Integrate these supportive exercises:

  • Shoulder isometric holds: 3×30 seconds per position.
  • Core rotations: 3×15 to maintain torso control through motion.
  • Scapular pushups: 3×20 to reinforce shoulder stability.
  • 8-count repetition drills: 4 rounds at full speed to simulate performance pressure.

Cue: “Train your body to remember perfect, not just repeat motion.”

cheer repetition drills

Repetition is only effective when it’s intentional. Muscle memory develops through technical accuracy, consistent cueing, and mindful pacing. As an All-Star coach, your job is to make every repetition meaningful – teaching athletes that quality repetition builds confidence and reliability under competition stress. Perfect repetition creates automatic excellence.

Steve Pawlyk Signature Full

IPP's Premade Mixes are USA Cheer Compliant and customizable!  Add Sound FX, swap songs, & more!  Add your Team Name to the mix for only $10! 

SLAM artwork
Full_Out_130 mp3 image
1 minute cheer mix
WAKE UP THE FIRE
SLAM artwork
WAKE UP THE FIRE
Full_Out_130 mp3 image
1 minute cheer mix
SHARE YOUR CART