Tag Archives: cheer coaching guide

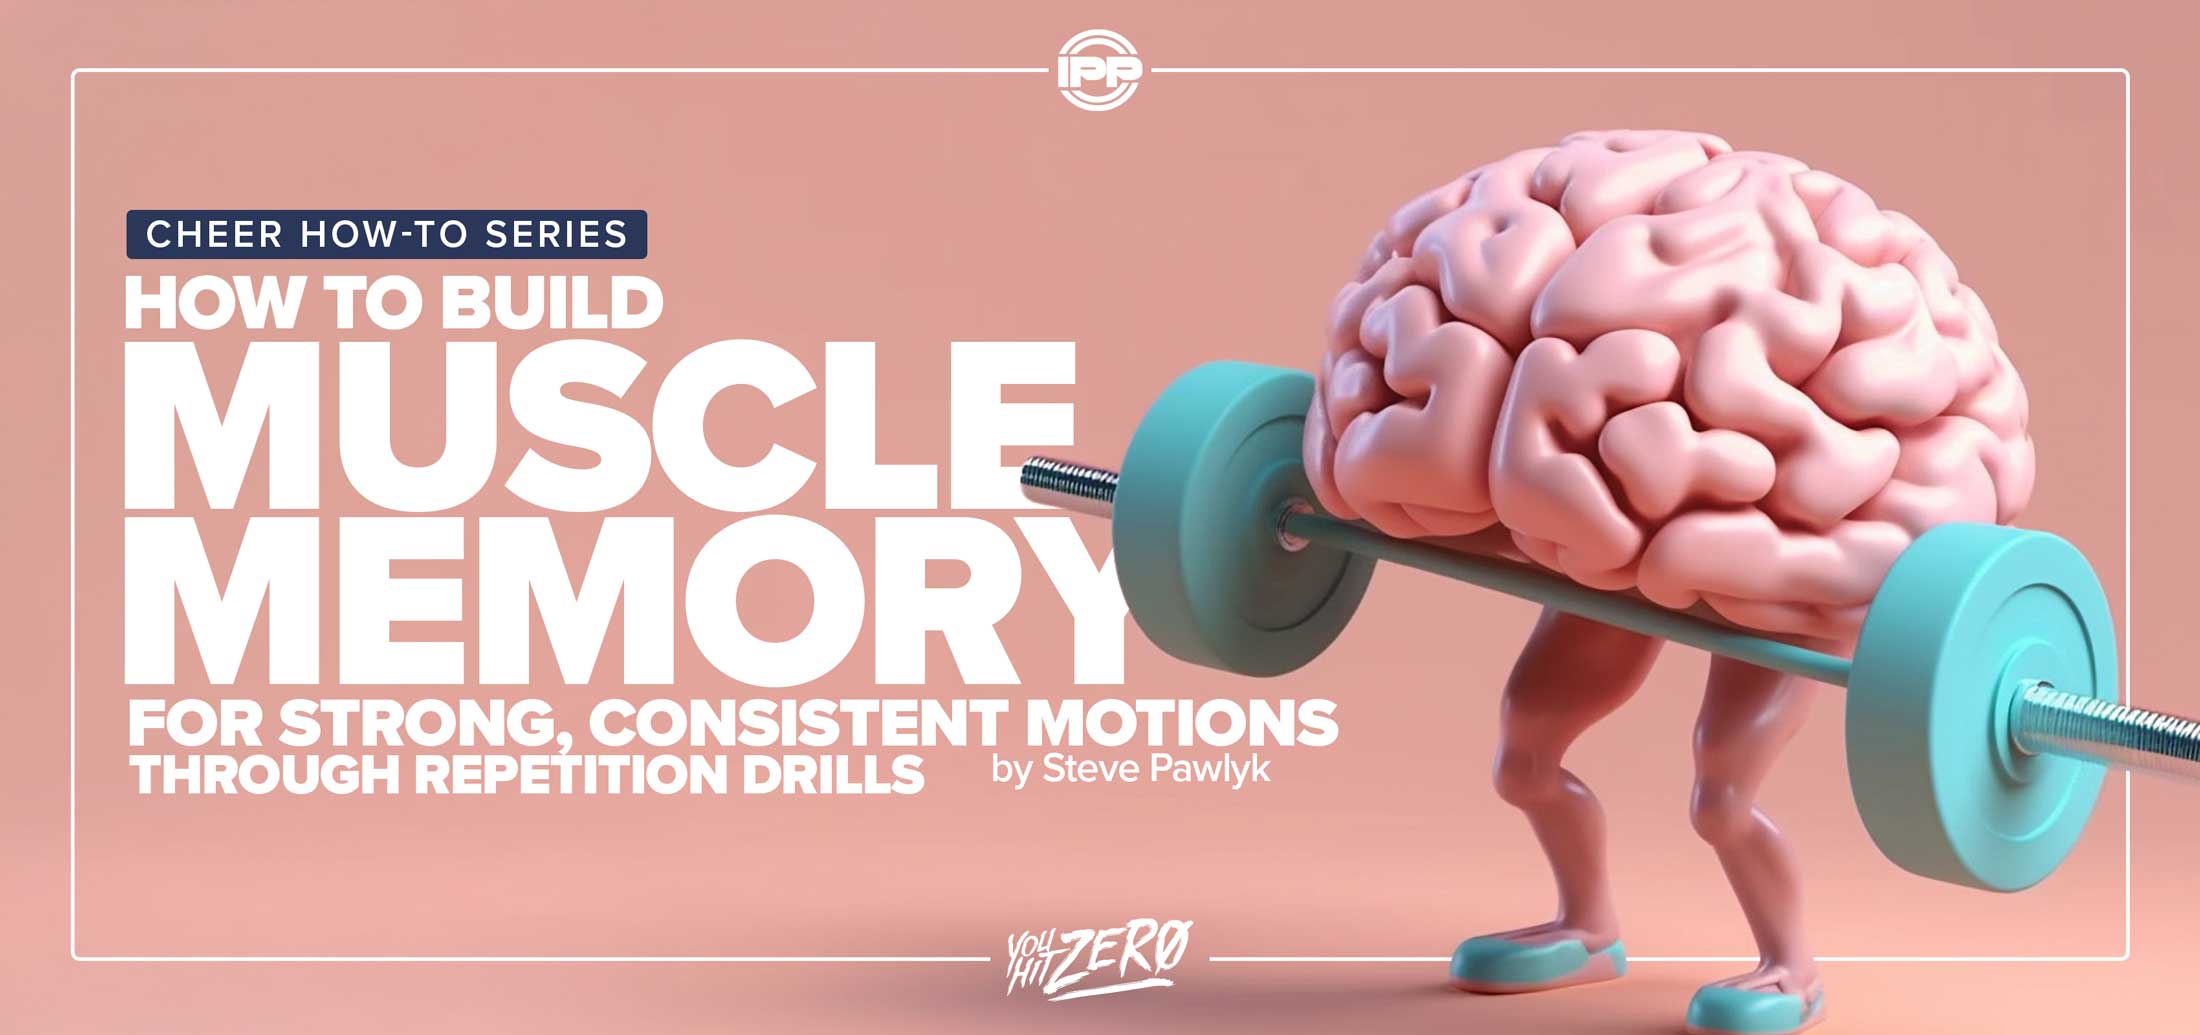
How to Build Muscle Memory for Strong, Consistent Motions Through Repetition Drills

How to Build Muscle Memory for Strong Consistent Motions Through Repetition Drills

By Steve Pawlyk

Published November 18, 2025

Consistency in motion execution is what makes a cheer team look professional and synchronized under pressure. Every perfect hit, clean line, and timed transition is the product of muscle memory – the body’s ability to reproduce movement automatically after enough structured repetition. Building that memory isn’t about doing endless reps; it’s about doing the right reps, with precision, timing, and awareness.
This guide provides All-Star and High School coaches with a system for teaching athletes how to engrain sharp motions into their neuromuscular patterns through progressive drills, cue phrasing, and conditioning that reinforce strength and accuracy over fatigue.

Understanding Muscle Memory in Cheer Technique

Definition:
Muscle memory is the automatic execution of a movement pattern through repeated neural reinforcement. When taught correctly, it allows athletes to hit perfect motions even under stress or fatigue.

How It Works:

  1. Cognitive Stage: Athlete consciously focuses on technique and positioning.
  2. Associative Stage: Movements become smoother as the brain refines timing and coordination.
  3. Autonomous Stage: The athlete executes motions without conscious effort – consistency achieved.

Key Principle:
Repetition alone doesn’t create good muscle memory – perfect repetition does. Poorly executed reps hardwire bad habits.
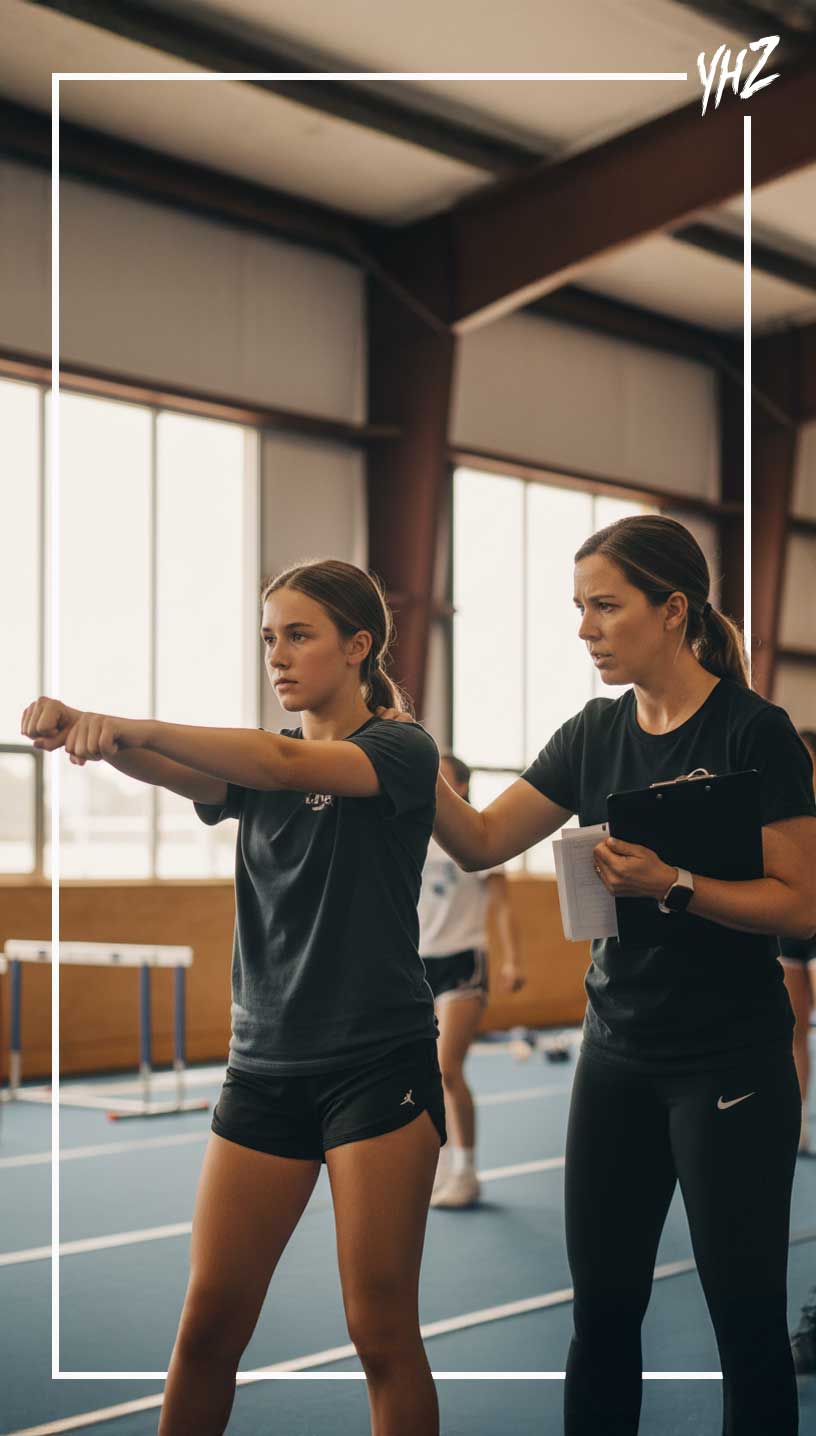
cheer muscle memory

Step-by-Step: Building Muscle Memory One-on-One

Step 1: Lock in Perfect Form

Before any repetition begins, correct form must be flawless.
Cue: “You’re not training speed yet – you’re training accuracy.”

  • Have the athlete hold each motion (High V, T, Low V, etc.) for 10 seconds.
  • Check alignment: wrists, elbows, shoulders, and posture.
  • Only when it’s perfect, begin repetitions.

Step 2: Use Isolated Reps

Perform each motion independently for 20–30 reps.

  • Start slow (counted tempo).
  • Cue: “Every hit should feel identical – no freelancing.”
  • Record video for self-analysis if possible.

Step 3: Add Controlled Transitions

After form mastery, link two or three motions together (e.g., T → High V → Low V).
Cue: “Same path, same stop, same body tension every time.”

Step 4: Integrate Feedback Loops

Have the athlete perform 10 reps, pause, and assess one technical element (e.g., wrist height).
This breaks the mindless repetition cycle and keeps focus on micro-correction.

Teaching Small Groups

Step 1: Repetition Blocks

Group athletes in sets of 3–5 and assign a “motion captain.”

  • The captain counts rhythm and monitors alignment.
  • After 20 reps, rotate captains to develop peer correction habits.

Step 2: The “Mirror Wall” Method

Line up facing mirrors. Perform the same motion sequence simultaneously.
Cue: “Every reflection should move as one body.”

Step 3: Accountability Through Counting

Use a metronome or voice count (“1-2-HIT”) to unify timing.
If anyone breaks rhythm or position, the group restarts.
Encourages focus, teamwork, and precise repetition.

Teaching Full-Team Consistency

Step 1: Team Motion Circuits

Design circuits combining 4–6 motions repeated for 8-count cycles.
Example: High V → T → Punch → Low V → High V → T
Run for 4 sets of 8 counts each, resting 15 seconds between.

Cue: “Every rep builds your muscle’s memory bank – make it count.”

Step 2: Layered Speed Progression

  1. Slow drills for angle control.
  2. Medium-speed drills for rhythm.
  3. Full-speed music drills for endurance and performance readiness.

Step 3: Coach’s Visual Consistency Check

Record full-team reps from multiple angles.
Freeze frames to compare arm levels, tension, and spacing.

Need Competition Music Blue 1

Coaching Language That Reinforces Repetition Quality

Effective Cues:

  • “Precision over pace.”
  • “Your body learns what you repeat – teach it the right thing.”
  • “Every rep is a blueprint.”
  • “Consistency lives in your shoulders and core.”
  • “Don’t just move – memorize.”

Avoid:

  • “Again!” without feedback – it trains errors.
  • “Faster!” before accuracy is built.

Common Athlete Errors and How to Correct Them

Error

Cause

Correction Strategy

Inconsistent arm height

Visual feedback missing

Mirror or video recording between reps.

Fatigue leading to slouch

Weak shoulder/core endurance

Add plank variations and static V-holds.

Speed sacrificing control

Overemphasis on tempo

Return to half-speed repetitions with counts.

Bent elbows mid-rep

Poor tension control

Cue: “Steel arms, soft shoulders.” Use resistance bands.

Uneven motion timing

Lack of auditory rhythm

Drill with metronome or 8-count track.

Drills to Build Long-Term Muscle Memory

  1. Timed Repetition Sets
    Perform 30 seconds of continuous motions, focusing on identical form each rep. Rest 15 seconds. Repeat 3 sets.
  2. Mirror Match Drill
    Partner athletes to mirror one another’s timing and motion accuracy. Visual reinforcement builds synchronization.
  3. Count Control Drill
    Run 8-count transitions slowly, freezing on each count. Forces awareness of arm path and pause integrity.
  4. “Fade Test” Drill
    Perform 25 perfect reps, then 5 more at fatigue level. Evaluate how form deteriorates. Reinforces endurance awareness.
  5. Endurance Ladder
    Add one rep per round (10 → 11 → 12, etc.). Athletes must maintain quality under load.

Conditioning for Muscle Memory Retention

Muscle memory relies on neural efficiency and physical endurance. Integrate these supportive exercises:

  • Shoulder isometric holds: 3×30 seconds per position.
  • Core rotations: 3×15 to maintain torso control through motion.
  • Scapular pushups: 3×20 to reinforce shoulder stability.
  • 8-count repetition drills: 4 rounds at full speed to simulate performance pressure.

Cue: “Train your body to remember perfect, not just repeat motion.”
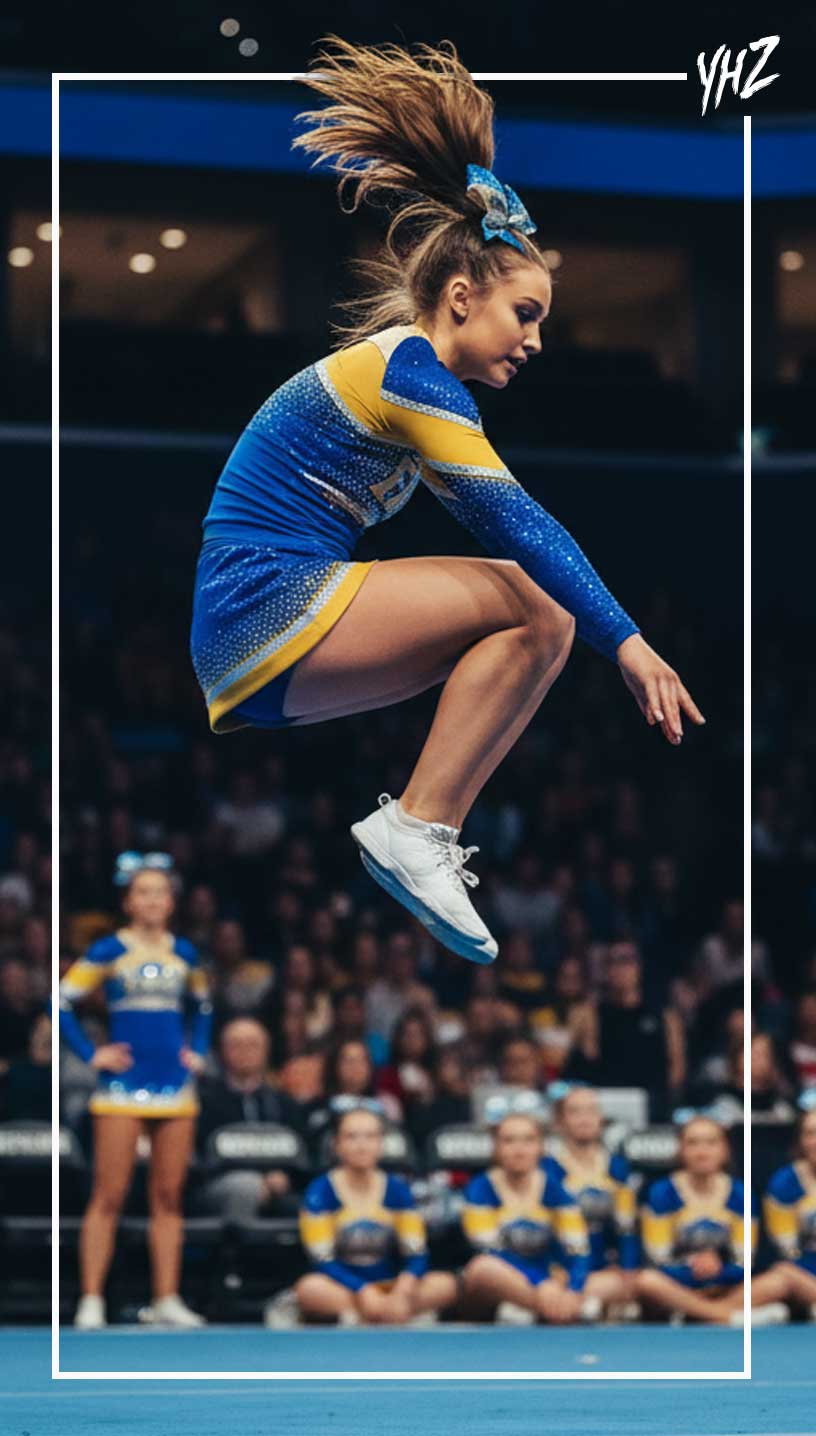
cheer repetition drills

Repetition is only effective when it’s intentional. Muscle memory develops through technical accuracy, consistent cueing, and mindful pacing. As an All-Star coach, your job is to make every repetition meaningful – teaching athletes that quality repetition builds confidence and reliability under competition stress. Perfect repetition creates automatic excellence.

Steve Pawlyk Signature Full

IPP's Premade Mixes are USA Cheer Compliant and customizable!  Add Sound FX, swap songs, & more!  Add your Team Name to the mix for only $10! 

SLAM artwork
Full_Out_130 mp3 image
1 minute cheer mix
WAKE UP THE FIRE
SLAM artwork
WAKE UP THE FIRE
Full_Out_130 mp3 image
1 minute cheer mix

Teaching Perfect Arm Angles How to Correct Chicken Wings Dropped Elbows and Soft Wrists

Teaching Perfect Arm Angles How to Correct Chicken Wings Dropped Elbows and Soft Wrists

By Steve Pawlyk

Published November 7, 2025

In competitive All-Star cheerleading, sharp motions define the difference between a clean, high-scoring routine and one that looks unrefined. Teaching athletes how to execute crisp, dynamic arm movements with precision and body control is fundamental to building strong visuals and synchronicity across your team. This guide walks All-Star coaches through a technical, step-by-step process for teaching sharp motions effectively – from individual drills to full-team synchronization – while addressing common errors, timing issues, and body alignment problems that often hold athletes back.

Understanding the Mechanics of Sharp Motions

Definition:
A “sharp motion” is a quick, controlled movement that stops abruptly at a precise endpoint with visible muscle engagement. It requires correct arm path, shoulder alignment, and total-body engagement.

Core Elements of Sharpness:

  • Tension: Muscles are fully engaged without appearing rigid.
  • Accuracy: Arm placement hits exact angles (e.g., 45°, 90°).
  • Timing: Motion reaches its final position simultaneously across athletes.
  • Control: Movement stops cleanly, with no bounce or wobble.

Key Muscles Used:
Deltoids, trapezius, latissimus dorsi, biceps/triceps, and core stabilizers.

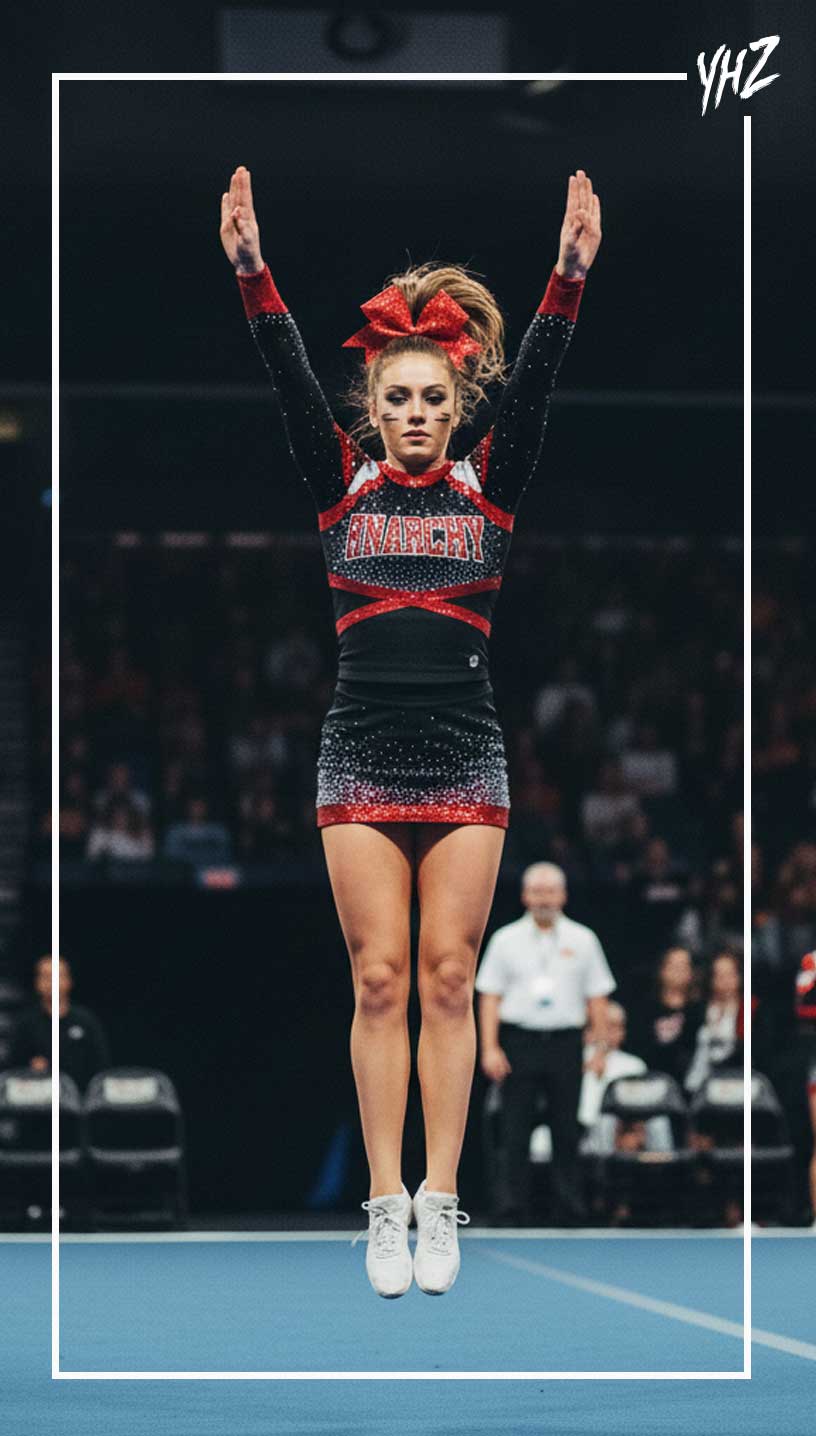
cheer arm angles

Step-by-Step: Teaching Sharp Motions One-on-One

Step 1: Establish Muscle Awareness

  • Drill: Have the athlete hold a High V for 10 seconds. Then cue:
    “Tighten your arms until they feel like steel – now breathe without letting the arms move.”
  • This develops static control and shoulder stability.

Step 2: Teach Arm Pathways

  • Use mirror feedback. Demonstrate a motion slowly, tracing the arm path.
  • Cue: “Travel through the air like you’re slicing – not floating.”
  • Have the athlete practice T → High V → Low V transitions at half-speed, then full-speed, maintaining tight paths and deliberate stops.

Step 3: Reinforce Visual Symmetry

  • Correct uneven elbows by cueing: “Both elbows should look like twins – same height, same line.”
  • Photograph or record the athlete mid-motion for visual correction.

Step 4: Add Controlled Speed

  • Once the athlete can execute cleanly at half-speed, use a metronome or counts.
  • Cue: “Hit, hold, snap back – no extra noise in between.”

One-on-One Focus: Keep feedback specific and immediate – correct after every rep. For developing athletes, emphasize “clean over fast.”

Teaching Small Groups: Building Consistency

When moving from individual correction to group work (3-5 athletes), the goal shifts from precision to uniformity.

Step 1: Synchronization Drills

  • Drill: Assign one athlete as the “lead” and have others match their timing and stop point.
  • Use 8-count tracks at 100 – 120 BPM for consistency.

Step 2: Peripheral Awareness

  • Cue athletes to use side vision to check alignment:
    “Your arms should land in the same line as your neighbor’s. If you see a hand out of place, match it.”

Step 3: Micro-Timing Adjustments

  • Record group motions in slow-motion.
  • Identify the athlete who hits early or late, then isolate and re-sync.
  • Use rhythmic clapping or verbal counts (“1-and-HIT”) to reinforce team timing.

Teaching Full-Team Precision

Step 1: Formations and Spacing

  • Sharp motions lose impact when spacing drifts. Tape lines on the floor to keep spacing exact (arms-length apart).
  • Cue: “Your visual space is part of the motion – protect your square.”

Step 2: Layered Instruction

  1. Start with silent run-throughs – no music, just visual hits.
  2. Progress to count-based: “5-6-7-8!”
  3. End with music-speed execution and pause drills between counts to check visuals.

Step 3: Visual Synchronization Drills

  • Use video playback and freeze frames at key motions (High V, T, Punch, etc.) to identify misalignments.
  • Assign “correction partners” – athletes who check each other’s arm levels and tension before full runs.
Need Competition Music Blue 1

Coaching Language That Works

The phrasing you use directly influences athlete response. Avoid abstract cues like “be sharp” or “hit harder.” Replace them with sensory and mechanical instructions.

Effective Coaching Phrases:

  • “Imagine your arms are blades cutting the air.”
  • “Snap into place like a magnet hitting metal.”
  • “Hold tension like you’re trying to flex your arms into the floor.”
  • “Freeze, don’t bounce.”
  • “Clean lines over fast arms.”

Common Athlete Errors and How to Correct Them

Error

Cause

Correction

Bent elbows

Weak triceps or poor tension awareness

“Lock but don’t lock out – think steel, not wood.” Drill with 3-lb dumbbells.

Uneven arms

Shoulder misalignment or hand dominance

Train both sides equally. Use mirror or laser alignment drills.

Wobbly stops

Lack of core engagement

Add plank and hollow hold conditioning. Cue: “Freeze from your ribs, not your wrists.”

Soft wrists

Weak tension through forearm

Incorporate “blade hand” drills – open palm tension holds for 8 counts.

Sloppy transitions

Rushed counts or overextension

Slow down, isolate each transition. “Every path is a punch, not a wave.”

Progressive Drills for Mastery

  1. Isolation Drill: Perform each motion slowly to counts – no transitions. Focus only on angle accuracy.
  2. Snap Drill: Hit T → High V → Low V → T in rhythm to a metronome, pausing between each to check angles.
  3. Mirror Match Drill: Two athletes face each other and mirror motions simultaneously. Immediate visual feedback reinforces synchronization.
  4. Resistance Band Drill: Attach light bands to wrists. Perform motions while maintaining band tension – builds strength and control.
  5. Full-Team Clean Hit Challenge: Every athlete must freeze at the end of each motion; any visible bounce or movement restarts the count.

Building Endurance for Sharp Motions

Sharp motions require not only precision but also endurance. Incorporate these conditioning elements:

  • Shoulder holds: 3 sets of 30-second High Vs with light dumbbells.
  • Core stabilization: Hollow holds and plank variations to reduce upper-body wobble.
  • Repetition drills: 50-count sets of full-out motions to simulate routine fatigue.

Cue during conditioning: “Your arms should look the same on count 1 as they do on count 50.”

chicken wings cheer

When an Athlete Struggles

Common Struggles:

  • Arms aren’t hitting sharp or fast enough:

    • Cause: Lack of muscle engagement or understanding of “motion lock.”

    • Fix: Have the athlete perform slow-motion hits against light resistance bands to feel the tension through shoulders, triceps, and wrists. Cue “lock from the shoulder, not the elbow.” Reinforce with short-count drills — e.g., “1–hit, 2–freeze.”

  • Elbows bend or wrists flop at the end of the motion:

    • Cause: Weak upper-arm engagement or fatigue during repetition.

    • Fix: Add static arm holds (10 seconds per motion) and isometric presses against a wall. Cue “squeeze through your arms like you’re cracking glass.”

  • Angles inconsistent between left and right sides:

    • Cause: Poor proprioception or shoulder imbalance.

    • Fix: Drill in front of a mirror or record video feedback. Have the athlete hit one motion at a time and freeze for visual alignment checks. Cue “match the mirror, not your memory.”

  • Athlete can’t find visual uniformity in team formations:

    • Cause: Over-focusing on personal execution instead of spatial awareness.

    • Fix: Use “mirror pairs” — partner the athlete beside your cleanest performer and run synchronized drills. Cue “your job is to disappear into the line.”

  • Timing late or early on counts:

    • Cause: Overthinking or reacting visually instead of audibly.

    • Fix: Practice hitting on a metronome beat or 8-count track. Cue “hit the sound, not the sight.”

Coach Tip:
When a particular athlete struggles to “feel” the sharpness, try tactile feedback. Have the athlete hold a lightweight resistance band across both wrists or a small towel between hands — this creates tangible tension through the arms and instantly teaches them what “tight” actually feels like. The goal isn’t punishment; it’s awareness. Once they feel it, they can replicate it without the tool.

Teaching sharp motions isn’t about speed — it’s about accuracy, control, and tension. Start slow, demand consistency, and build synchronization from the ground up. The payoff is visual cleanliness, team unity, and a routine that commands attention from judges the moment the first motion hits.

Stay tuned for more coaching tips from our Cheer How-To Series 

Steve Pawlyk Signature Full

IPP's Premade Mixes are USA Cheer Compliant and customizable!  Add Sound FX, swap songs, & more!  Add your Team Name to the mix for only $10! 
SLAM artwork
Full_Out_130 mp3 image
1 minute cheer mix
WAKE UP THE FIRE
SLAM artwork
WAKE UP THE FIRE
Full_Out_130 mp3 image
1 minute cheer mix
SHARE YOUR CART