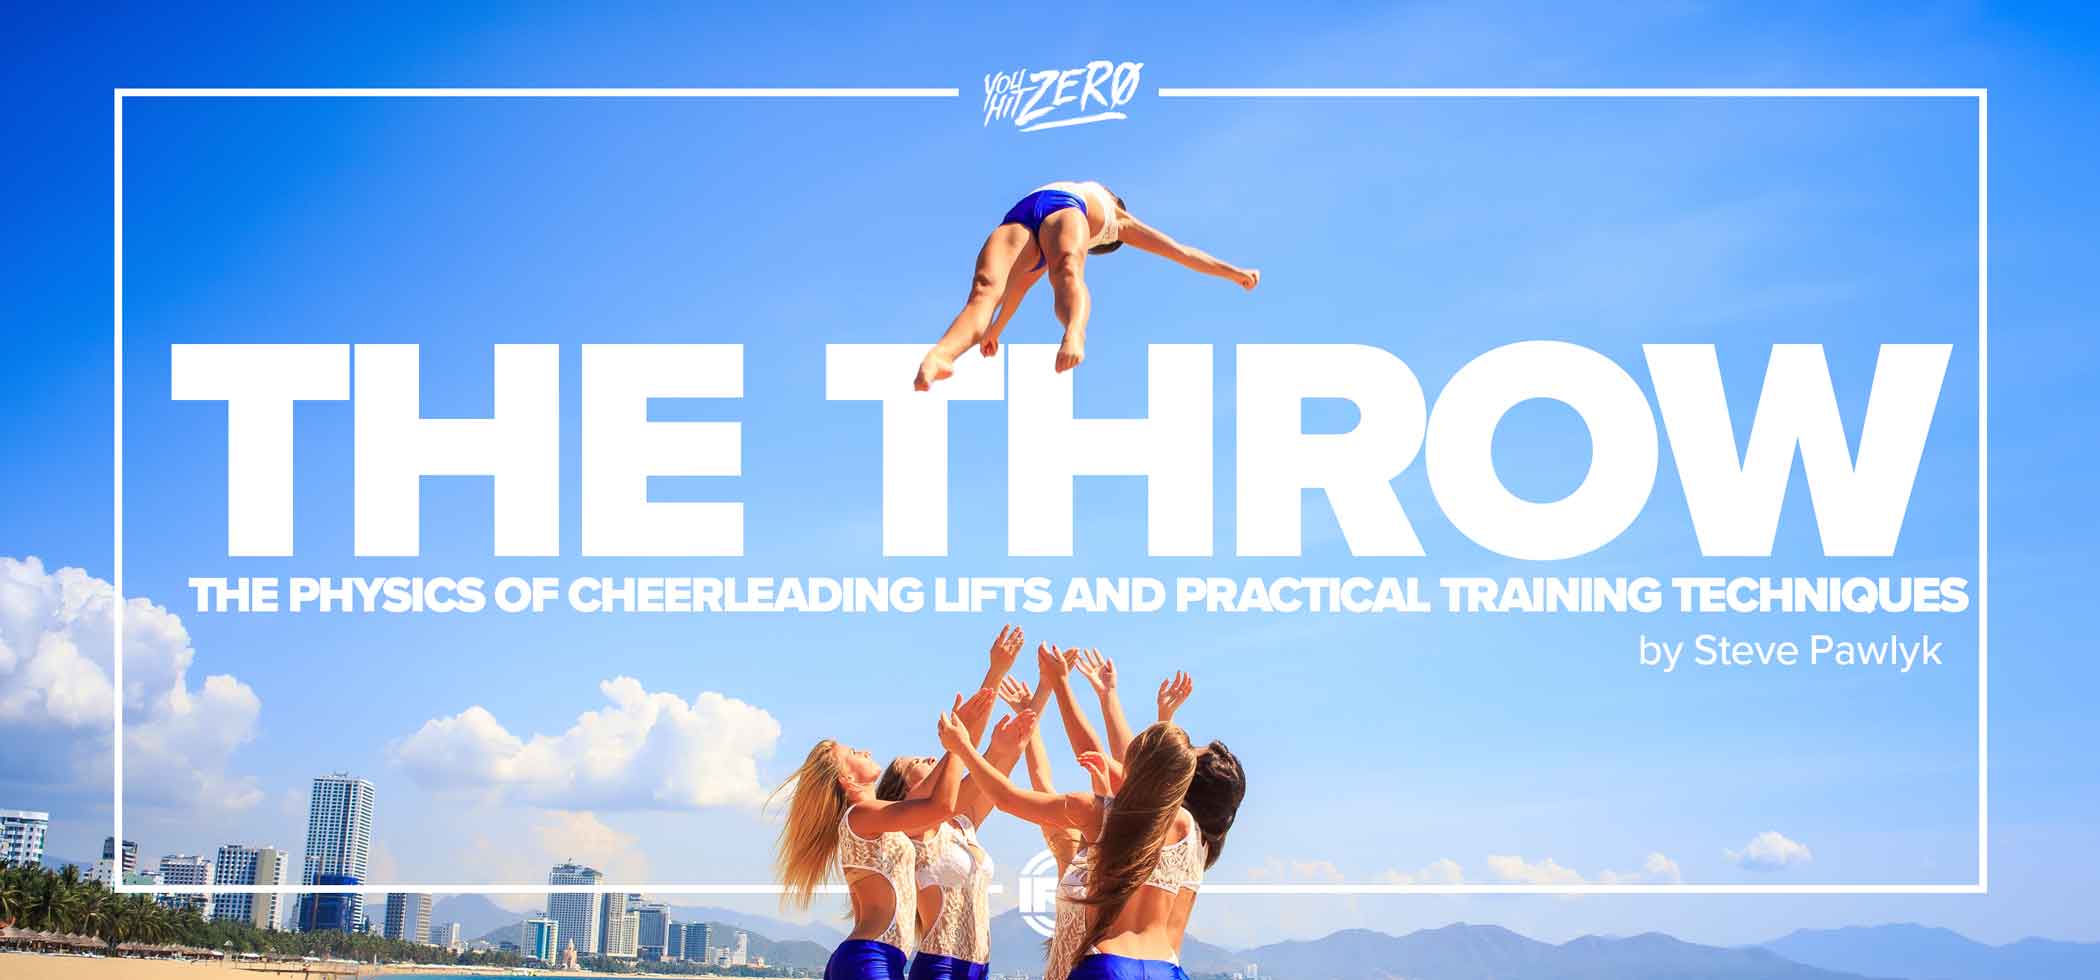
Tag Archives: cheerleading technique

The Throw: The Physics of Cheerleading Lifts and Practical Training Techniques

The Throw The Physics of Cheerleading Lifts and Practical Training Techniques tips

By Steve Pawlyk

Published November 17, 2023

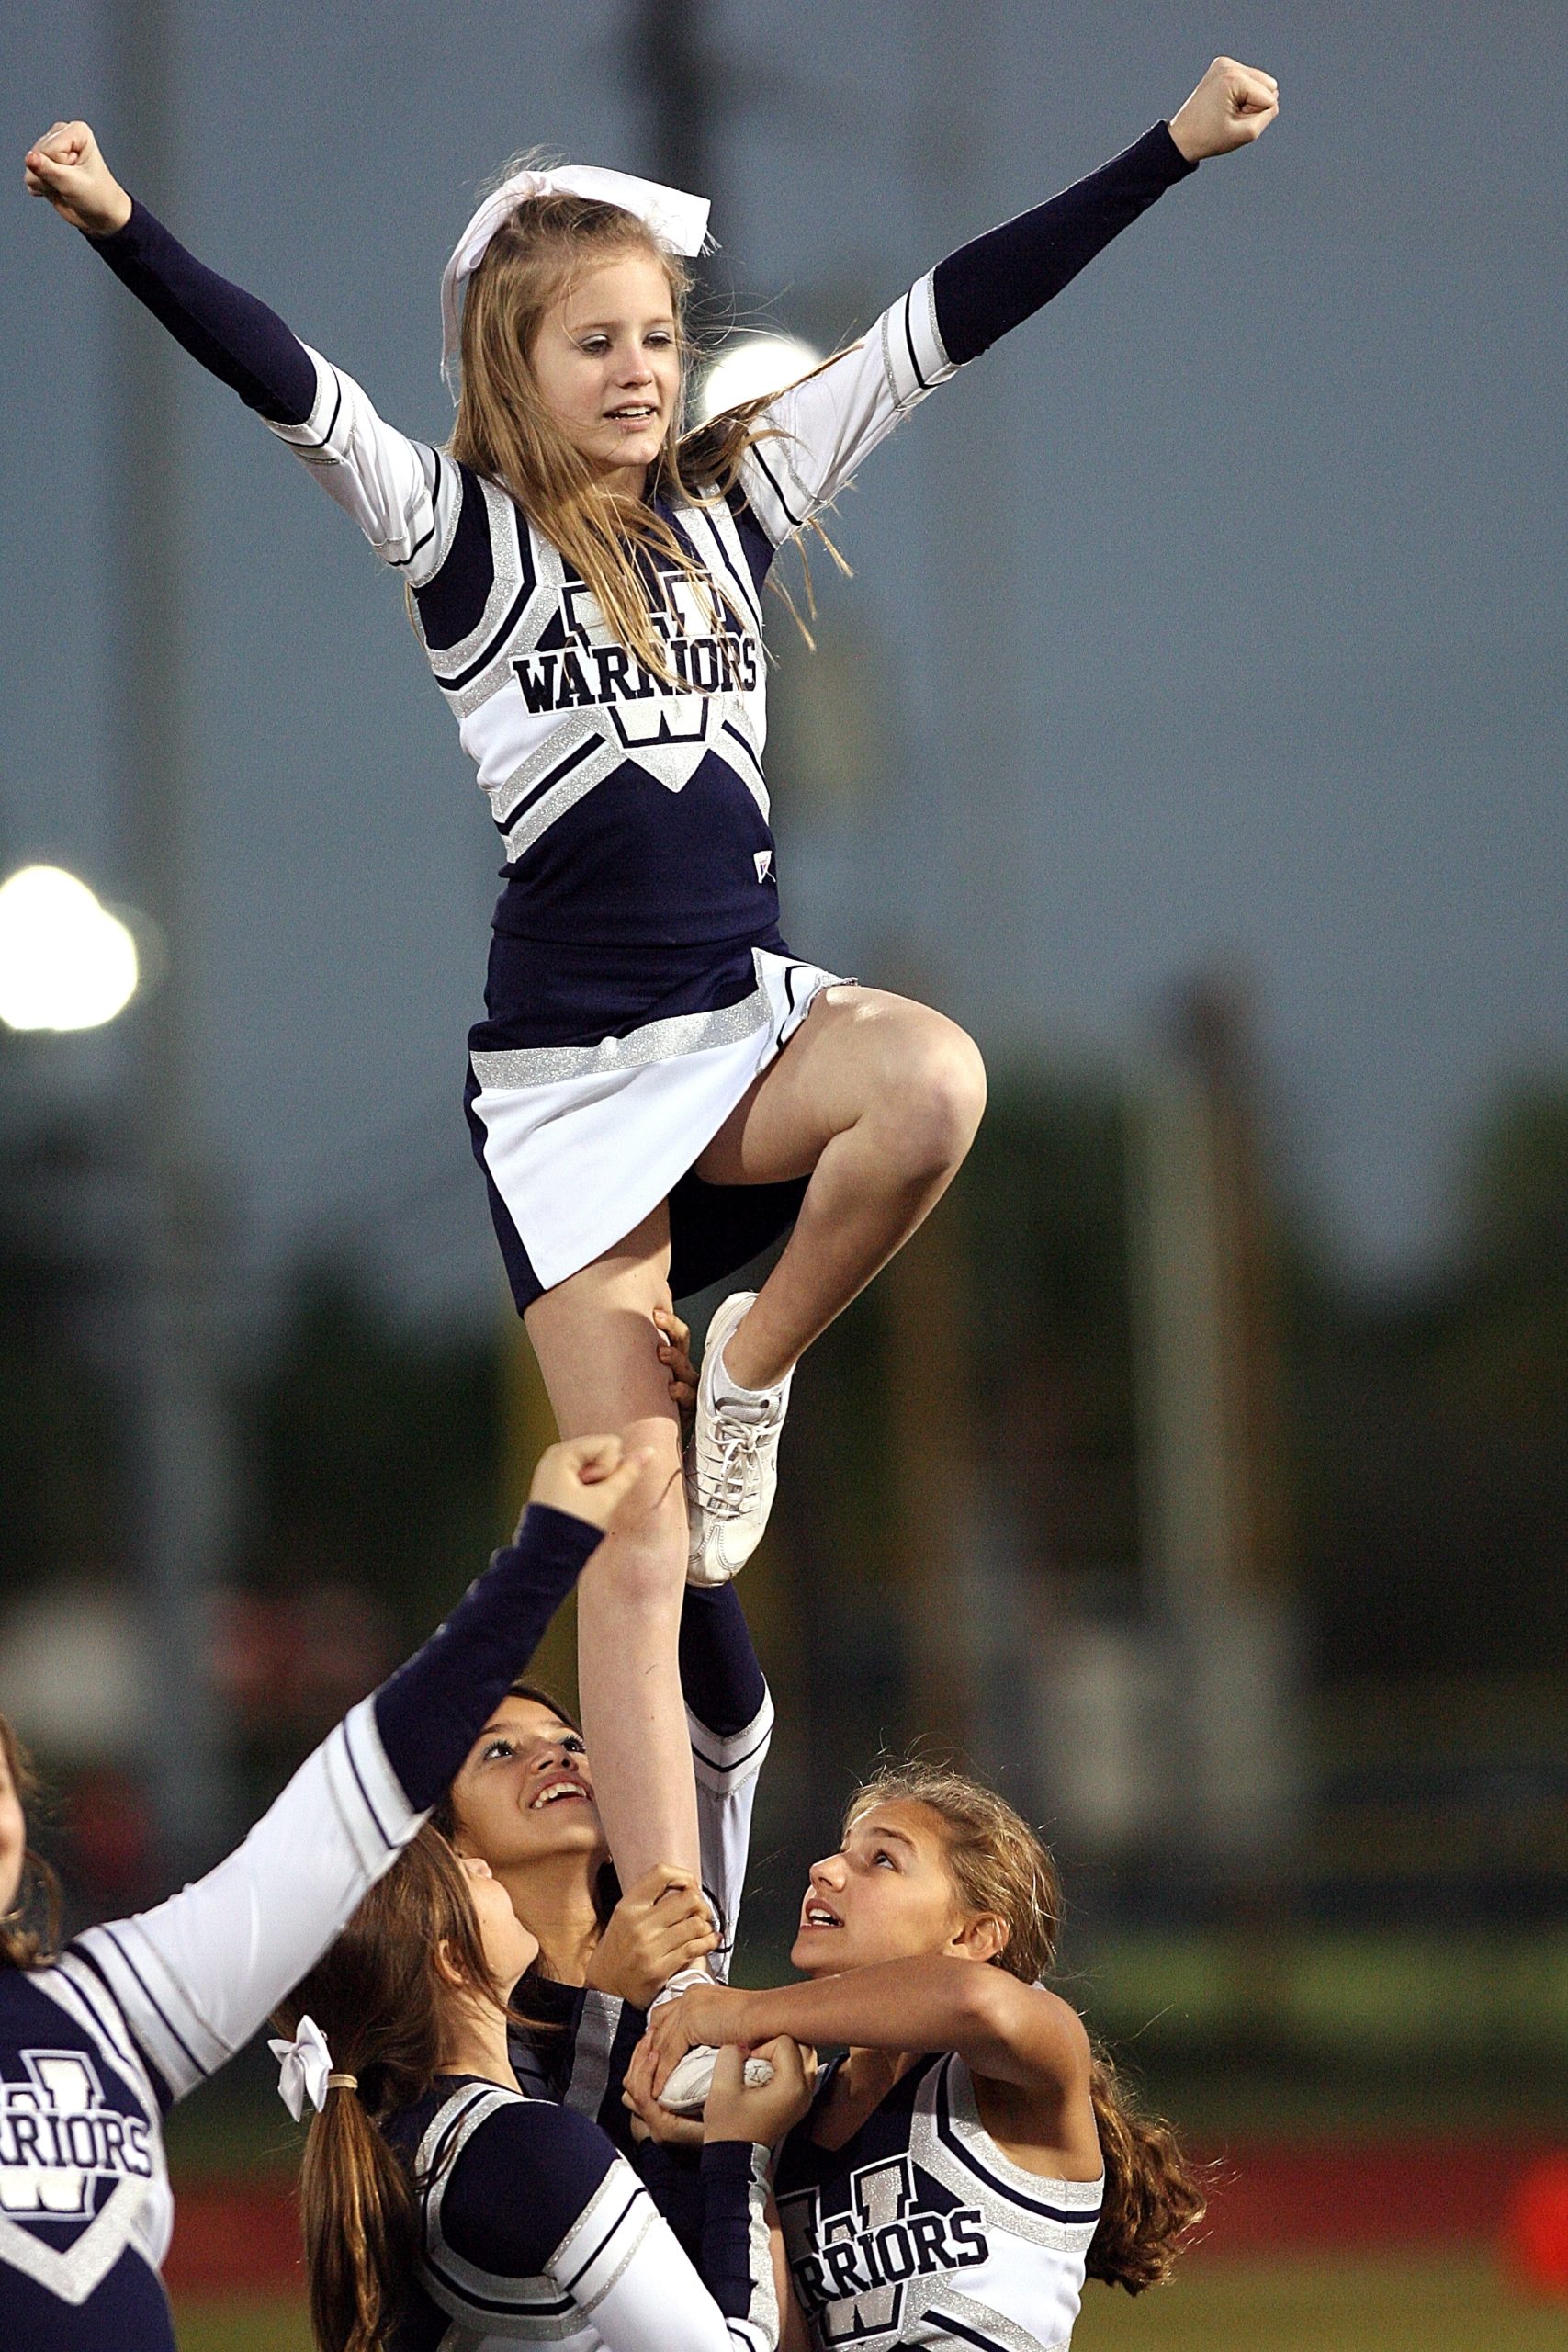
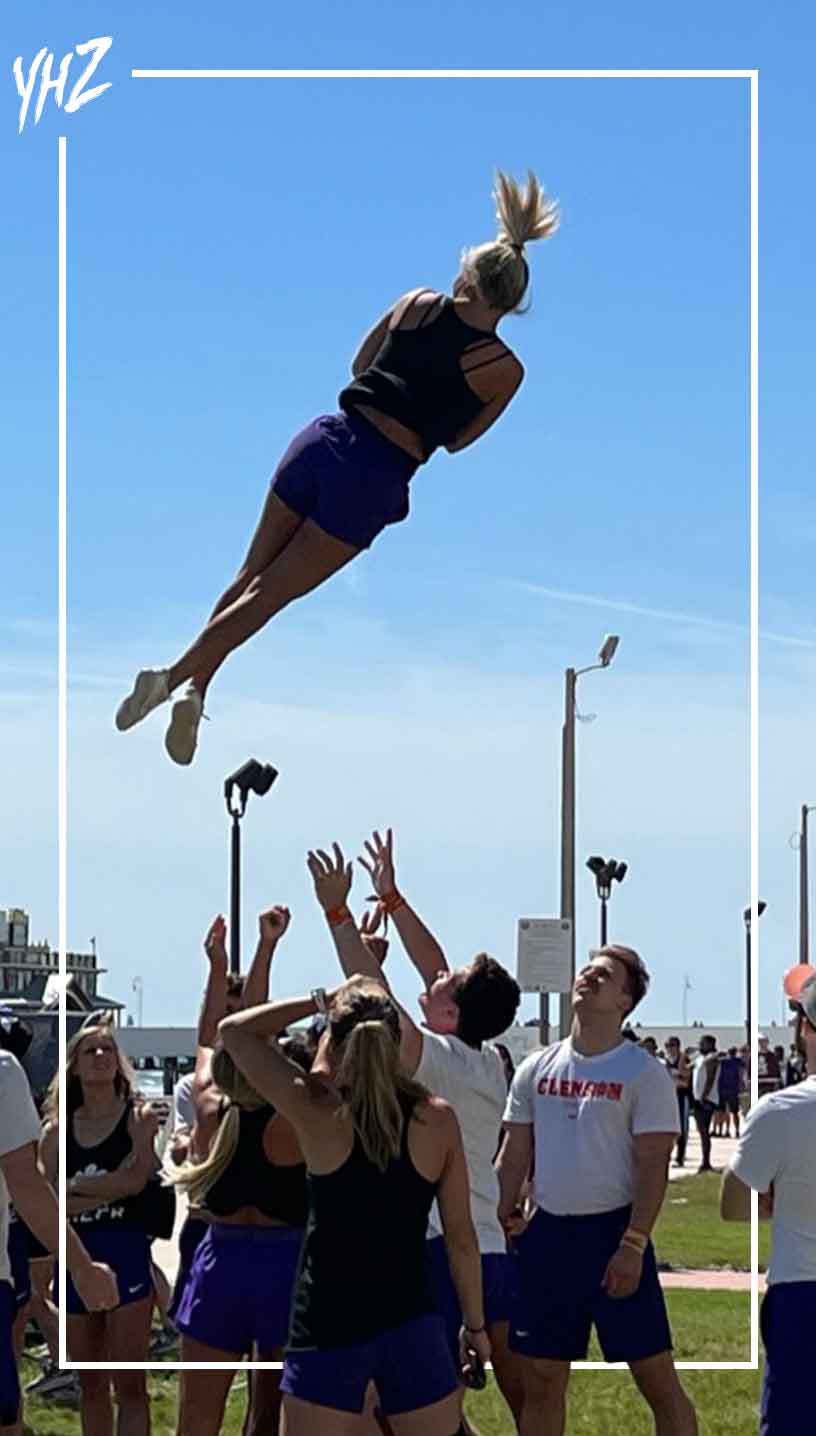
The captivating moment when a cheerleader is launched into the air during a stunt is the result of a precise application of physics principles between the base and the flyer. Understanding the mechanics behind this can vastly improve technique, safety, and performance. This article dives deep into the physics of the cheerleading throw and offers practical methods for coaches to enhance the training of their athletes.

The Fundamentals of Physics in Cheer Throws

Before delving into the training methods, it’s crucial to comprehend the basic physics at play. The throw involves concepts of force, energy, momentum, and angular momentum. Here, we’ll break down these principles and explain how they work in unison to execute a flawless lift.

physics of cheerleading

Optimizing Force and Energy Transfer

The success of a throw hinges on the efficient transfer of energy from the base to the flyer. We will discuss how bases can optimize their application of force to maximize the height and stability of the throw, focusing on the timing, angle, and the explosive power needed.

The Technique Behind Momentum

Momentum is the product of mass and velocity and is conserved in the closed system of a base and flyer. Coaches can use drills to teach bases how to effectively transfer linear momentum to the flyer, ensuring a vertical lift that makes for an impressive stunt.

The spectacle of a cheerleader soaring gracefully through the air is a testament to the strength, timing, and precision cultivated through rigorous training. Strength and conditioning, drill repetition, and the correct application of force are the pillars of an effective cheer throw. This article will expand on these components to provide a comprehensive guide for cheerleading coaches aiming to refine the explosive power and synchronicity of their squad’s lifts.

Building a Foundation with Strength and Conditioning

The prowess of a cheerleading base begins with a robust foundation of physical strength, particularly in the legs and core. This is crucial for two reasons: it provides the power needed for a strong lift-off and ensures the stability required to support and control the throw. Here are key exercises to incorporate into a cheerleader’s regimen:

cheer competition music cheap
Licensed Cheer Music for Competition Cheer Music
  • Squats and Deadlifts: These compound movements are excellent for building leg strength. They mimic the lifting action of a cheer throw, engaging the quadriceps, hamstrings, and gluteal muscles.
  • Plyometrics: Exercises like box jumps and jump squats train fast-twitch muscle fibers, essential for the explosive power needed in a lift-off.
  • Core Workouts: Planks, Russian twists, and hanging leg raises build the core stability that bases need to maintain balance and control during a throw.

Perfecting the Art through Drill Repetition

Drill repetition is about creating muscle memory so that each movement becomes second nature, allowing for flawless execution during the high pressure of performances. Repetitive practice drills that focus on timing and coordination are vital:

  • Simulated Throws: Practice the motion of throws without the flyer to perfect the base’s technique and build endurance.
  • Timing Drills: Use metronomes or music to cue bases on when to initiate and release the throw, training them to act in unison.
  • Coordination Exercises: Group exercises where bases lift objects in sync can improve the collective coordination needed for synchronized throws.
angular momentum cheerleading

The Science of Force Application

Teaching bases how to uniformly and directionally apply force can make the difference between a mediocre and a spectacular stunt. The uniform application of force ensures the flyer’s safety and the stunt’s success. Here are strategies to enhance this skill:

improve cheer technique
  • Directional Drills: Use targeted exercises to train bases on applying force in a consistent direction, which is often vertical for maximum height.
  • Resistance Training: Implement resistance bands or light weights to simulate the resistance a base feels when lifting a flyer.
  • Consistent Practice with Flyers: There’s no substitute for the real thing. Regular practice with flyers allows bases to adjust their force application in real-time, attuning to the flyer’s weight and movement dynamics.

Integrating Training into Routine Workouts

Incorporating these elements into a routine workout can lead to significant improvements:

  • Circuit Training: Create a circuit that includes leg and core strength exercises, plyometrics, and drill repetitions for a comprehensive workout.
  • Progressive Overload: Gradually increase the intensity and complexity of exercises to continuously challenge the athletes and promote strength gains.
  • Recovery and Mobility: Incorporate adequate rest and mobility work to prevent injury and ensure that athletes can perform movements with full range of motion.

Safety First: Ensuring a Secure Practice Environment

No discussion of cheerleading technique would be complete without a strong emphasis on safety. This section will cover the essential safety measures coaches must enforce, from proper spotting to ensuring that all stunts are practiced with mats and in a suitable environment.

Cheerleading throws are a complex blend of artistry and physics. By applying these principles in a structured training regimen, coaches can elevate their athletes’ performance and safety. This article serves as a guide to the scientific and practical aspects of cheerleading throws, providing coaches with the knowledge and tools to refine their team’s stunts to perfection.

Steve Pawlyk Signature Full

Need Competition Music Blue

IPP's Premade Mixes are USA Cheer Compliant and customizable!  Add Sound FX, swap songs, & more!  Add your Team Name to the mix for only $10! 

SLAM artwork
Full_Out_130 mp3 image
1 minute cheer mix
WAKE UP THE FIRE
SLAM artwork
WAKE UP THE FIRE
Full_Out_130 mp3 image
1 minute cheer mix

Mastering Toss Hands

mastering-toss-hands cheerleading

By Steve Pawlyk

Published August 14, 2023

Male cheerleaders around the world may face unique challenges, particularly when it comes to performing toss hands. If you are in your early years of cheerleading and struggling with getting the right height on your toss, but seem to have no problem with shoulder sits, you are not alone.

Understand the Role of Strength Training

Lift More Weights: Building strength is key. Focus on the big 3 lifts – deadlifts, squats, and cleans.

  • Deadlifts and Squats: These exercises target the muscles needed for tosses and can significantly enhance your power.
  • Cleans: This is useful for developing explosive strength, but it requires proper technique to be effective.

While coaches often emphasize technique over strength, having more strength to tap into will never be detrimental. It can, in fact, provide an edge in your performance.

cheer lifting weights deadlifts

Deadlifts

Deadlifts are great for building overall strength, targeting muscles in your legs, back, and core. Here’s a step-by-step guide:

1. Starting Position:

  • Stand with feet hip-width apart.
  • Place the barbell over the middle of your feet.
  • Bend at the hips and knees to lower your body to the bar.
  • Grip the bar with both hands, either overhand or mixed grip.
  • Keep your back flat, chest up, and shoulders slightly in front of the bar.

2. Lifting Phase:

  • Engage your core and push through your heels.
  • Extend your hips and knees simultaneously to lift the bar.
  • Keep the bar close to your body, traveling in a straight line.
  • Fully extend your hips at the top, standing tall.

3. Lowering Phase:

  • Reverse the movement, pushing hips back first.
  • Lower the bar by bending the hips and knees.
  • Return to the starting position with control.

4. Key Tips:

  • Maintain a neutral spine throughout the movement.
  • Focus on engaging your glutes and hamstrings.
  • Avoid rounding your back.

Squats

Squats are a cornerstone exercise for building leg and core strength. Follow these steps:

1. Starting Position:

  • Stand with feet shoulder-width apart.
  • Hold a barbell across your upper back or place hands on hips for bodyweight squats.
  • Keep your chest up, shoulders back, and eyes forward.

2. Descending Phase:

  • Begin by pushing your hips back.
  • Bend your knees while keeping them in line with your feet.
  • Lower your body until thighs are at least parallel to the ground.
  • Keep your chest up and back straight throughout the movement.

3. Ascending Phase:

  • Push through your heels to stand back up.
  • Extend hips and knees simultaneously.
  • Return to the starting position, maintaining good posture.

4. Key Tips:

  • Keep your knees from caving in or going past your toes.
  • Engage your core throughout the movement.
  • Focus on controlled, smooth motions.

5. Variations:

  • Goblet Squat with a dumbbell or kettlebell.
  • Front Squat with the barbell in front of your shoulders.
cheerleading weightlifting squats

Both Deadlifts and Squats are powerful exercises that require attention to form and technique. It may be wise to consult with a fitness professional or coach to ensure proper execution, especially if you are new to these movements.

cheer competition music cheap
Licensed Cheer Music for Competition Cheer Music

Cleans:

The Clean is a complex and powerful exercise often used by athletes to develop explosive strength. It can be particularly beneficial for cheerleaders who need to enhance their toss ability. Here’s a detailed, step-by-step guide to performing the Clean exercise:

1. Starting Position:

  • Stand with feet shoulder-width apart.
  • Grip the barbell with a hook grip, hands slightly wider than shoulder-width.
  • Position the bar over the mid-foot.
  • Lower yourself by bending at the knees and hips, keeping the chest up.
  • Engage your core and ensure that your back is straight.

2. First Pull:

  • Begin by driving through your heels to lift the bar off the floor.
  • Maintain a flat back and keep the bar close to your body.
  • Extend your legs while keeping your shoulders over the bar.

3. Second Pull (Explosive Phase):

  • As the bar reaches knee height, explosively extend your hips and knees.
  • Shrug your shoulders and pull the bar upward with your arms.
  • Think of “jumping” the bar upwards rather than just lifting it.

4. Catch Phase:

  • Quickly drop under the bar by pulling yourself into a squat position.
  • Rotate your elbows forward to catch the bar on your front shoulders.
  • The bar should rest on your fingertips or the heel of your hand, not the palm.
  • Your thighs should be at least parallel to the ground in the catch position.

5. Recovery Phase:

  • Stand up by pushing through your heels, fully extending your hips and knees.
  • Maintain a straight back and keep the bar in front of your shoulders.

6. Return:

  • Safely lower the barbell back to the starting position or drop it to the floor if using bumper plates.

7. Key Tips:

  • Focus on powerful hip extension rather than pulling with the arms.
  • Keep the bar close to your body throughout the movement.
  • Ensure a smooth transition from the pull to the catch.
  • Practice with lighter weights or a PVC pipe to master the technique before adding weight

Safety Considerations

Given the complexity of the Clean, it may be beneficial to break down the movement into its constituent parts and practice them individually. Working with a certified coach or trainer who understands the biomechanics of the exercise can also help you develop proper form and technique.

Cleans are an advanced lifting technique that requires coordination, timing, and power. They can be a valuable addition to a cheerleader’s training program, helping develop the explosive strength needed for various cheer maneuvers.

Repetition and Understanding Your Flyer

The Reddit user also highlighted the importance of repetition and knowing your flyer’s timing.

  • Repetition: Practicing your toss hands again and again will eventually lead to mastery. Don’t shy away from dedicating time to consistent practice.
  • Understanding Your Flyer: Building synergy with your flyer can make a world of difference. If you understand each other’s timing and movements, you’ll find that executing toss hands becomes much more fluid.

If you’re grappling with toss hands, the combination of targeted weight lifting, repetitive practice, and cultivating a strong understanding with your flyer could be the solution you need.

There’s no one-size-fits-all answer, but these tried and tested methods have proven to be effective for many. With dedication and focus, you too can overcome this challenge and take your skills to new heights.

male cheerleader

Steve Pawlyk Signature Full

Need Competition Music Blue

IPP's Premade Mixes are USA Cheer Compliant and customizable!  Add Sound FX, swap songs, & more!  Add your Team Name to the mix for only $10! 

SLAM artwork
Full_Out_130 mp3 image
1 minute cheer mix
WAKE UP THE FIRE
SLAM artwork
WAKE UP THE FIRE
Full_Out_130 mp3 image
1 minute cheer mix

Mastering the Back Walkover: Expert Tips and Drills for Cheerleaders

Mastering the Back Walkover: Expert Tips and Drills for Cheerleaders

By Steve Pawlyk

Published July 14, 2023

Today, we’re addressing a common challenge that many cheerleaders face: mastering the back walkover. This skill is a fundamental part of many routines and can be a hurdle for some athletes. Often cheerleaders struggle with back walkovers, despite regular practice and stretching. So let’s dive into some tips and drills that can help you conquer this move.

Understanding the Back Walkover

The back walkover is a gymnastic skill that requires a combination of strength, flexibility, and balance. It involves starting from a standing position, reaching backwards into a bridge, and then kicking over to return to a standing position. The cheerleader who posted her frustration with this on Reddit mentioned that she can fall into a bridge but struggles with the kick over. This suggests that she may need to focus on building strength and improving technique.

Building Strength

While flexibility is crucial for a back walkover, strength is equally important. You need strong shoulders, back, and core muscles to control your body as you kick over from the bridge position. Here are a few exercises to help build this strength:

1. Planks: Planks are excellent for strengthening your core. Try to hold a plank for 30 seconds to a minute, and gradually increase your time as your strength improves.

2. Push-ups: Push-ups can help build shoulder and arm strength. If regular push-ups are too challenging, start with knee push-ups and gradually progress to full push-ups.

3. Bridge push-ups: These target your shoulders, back, and core. Start in a bridge position and try to push your body up and down.

Cheerleader doing pushups to build core strength for back walkovers

Improving Technique

The technique is key in a back walkover. Here are a few drills to help improve your technique:

Spotter assisting a cheerleader during a back walkover practice

1. Bridge kickovers: Start in a bridge position with your feet on an elevated surface like a mat or a step. Kick over one leg at a time. This drill can help you get the feel of the kickover motion.

2. Spotter-assisted back walkovers: Ask a coach or a teammate to spot you as you attempt your back walkover. They can provide support as you kick over, helping you understand the movement and build confidence.

3. Wall walkovers: Stand a few feet away from a wall, facing away from it. Reach back into a bridge against the wall and use it to push off and kick over. This drill can help you practice the kickover motion with some support.

Increasing Flexibility

Even though our cheerleader friend has been stretching daily, she might need to incorporate some specific stretches to increase her back and shoulder flexibility:

1. Doorway stretch: Stand in an open doorway, place your hands on the door frame slightly above your head, and lean forward to stretch your shoulders.

2. Cobra pose: This yoga pose is great for increasing back flexibility. Lie on your stomach, place your hands under your shoulders, and push your upper body off the ground.

3. Bridge stretch: Regularly practicing your bridge can also help improve your flexibility. Try to hold the position for longer periods and work on straightening your legs and pushing your shoulders over your hands.

Cheerleader-demonstrating-the-bridge-position,-a-crucial-starting-point-for-a-back-walkover

Perfecting the Back Walkover: A Detailed Breakdown

The back walkover can be a challenging skill to master, but breaking it down into smaller, more manageable movements can make it easier to understand and execute. Let’s delve into a more detailed explanation of the back walkover, focusing on the bridge position and the transition to the kickover.

Cheerleader performing a plank exercise to build core strength for back walkovers

The Bridge Position

When you’re in the bridge position, it’s important to push your shoulders forward as far as possible. This movement will naturally start to straighten your legs. The goal here is to create a strong, stable base from which you can initiate the kickover.

The Kickover Transition

Once your legs are close to straight, bring one foot in, so one leg is bent and the other is straight. This is the starting position for the kickover. From here, you’ll want to look at your hands and aggressively push the bent leg straight while lifting the other leg up.

It’s crucial to think of this movement less as a “kick” and more as a “push and swing.” You’re pushing through the bent leg so it extends fully, and simultaneously swinging the straight leg up and over. This combination of movements creates the momentum you need to complete the back walkover.

Working with a Spotter

If you’re still finding the back walkover challenging, working with a spotter can be very helpful. They can provide physical support and guidance as you practice the movement, helping you build confidence and improve your technique.

You can also practice back walkovers going down a cheese mat (an incline mat) with a spotter. The incline can help make the movement easier by using gravity to assist with the momentum. This can be a great way to get a feel for the back walkover and understand how the movements should flow together.

The Back Walkover vs. The Kickover

Interestingly, many cheerleaders find the back walkover easier to perform than a kickover from a bridge. This is because the momentum going backwards in a back walkover naturally makes your legs follow, making the movement feel more fluid and less forced.

So, if you’re struggling with the kickover, try practicing back walkovers instead. You might find that the backwards momentum helps you understand and execute the movement more easily

Remember, mastering a skill like the back walkover takes time, patience, and lots of practice. Don’t be discouraged if you don’t get it right away. Keep practicing, stay consistent with your strength training and stretching, and don’t hesitate to ask for help from your coach or teammates. You’re not alone in this journey, and with dedication and perseverance, you’ll be able to nail that back walkover in no time 👍

cheerleader practicing a back walkover

Steve Pawlyk Signature Full

Need Competition Music Blue

IPP's Premade Mixes are USA Cheer Compliant and customizable!  Add Sound FX, swap songs, & more!  Add your Team Name to the mix for only $10! 

SLAM artwork
Full_Out_130 mp3 image
1 minute cheer mix
WAKE UP THE FIRE
SLAM artwork
WAKE UP THE FIRE
Full_Out_130 mp3 image
1 minute cheer mix
SHARE YOUR CART