
 •
• English
 日本語
日本語 Español
 Português
 Français
 Polski
 Deutsch
 Italiano
 Nederlands
 한국어
한국어 Русский
 简体中文
简体中文


Nov



By Steve Pawlyk
Published November 11, 2025
The High V and Low V are two of the most common motions in competitive All-Star cheer – and two of the most frequently performed incorrectly. Even experienced athletes struggle with shoulder elevation, flared ribs, or collapsing posture that make these basic shapes look soft or uneven. For coaches, mastering how to teach and refine these motions builds the foundation for every visual element that follows.
Watch elite teams like Cheer Extreme Raleigh SSX (six-time World Champions as of 2025) or GymTyme Illinois Fever (back-to-back World Champions and 2025 MAJORS Champions), and you’ll immediately notice the razor-sharp precision of their V motions. Teams like South Coast Cheer Fearless (three consecutive World titles from 2023-2025) and Cheer Athletics Plano Cheetahs (2025 MAJORS Champions in Large Coed) demonstrate how flawless fundamentals translate to championship-level performances. Top Gun All Stars TGLC, with nine World Championship titles, and The Stingray Allstars Peach and Orange (both 2025 MAJORS Champions) exemplify what happens when shoulder placement, angle consistency, and core engagement become non-negotiable standards.
This guide breaks down the biomechanics, teaching progressions, drills, and cue language that produce clean, strong V-lines without stiffness or slouching – the same techniques that separate world-class programs from the rest.
Understanding the Mechanics of the High V and Low V
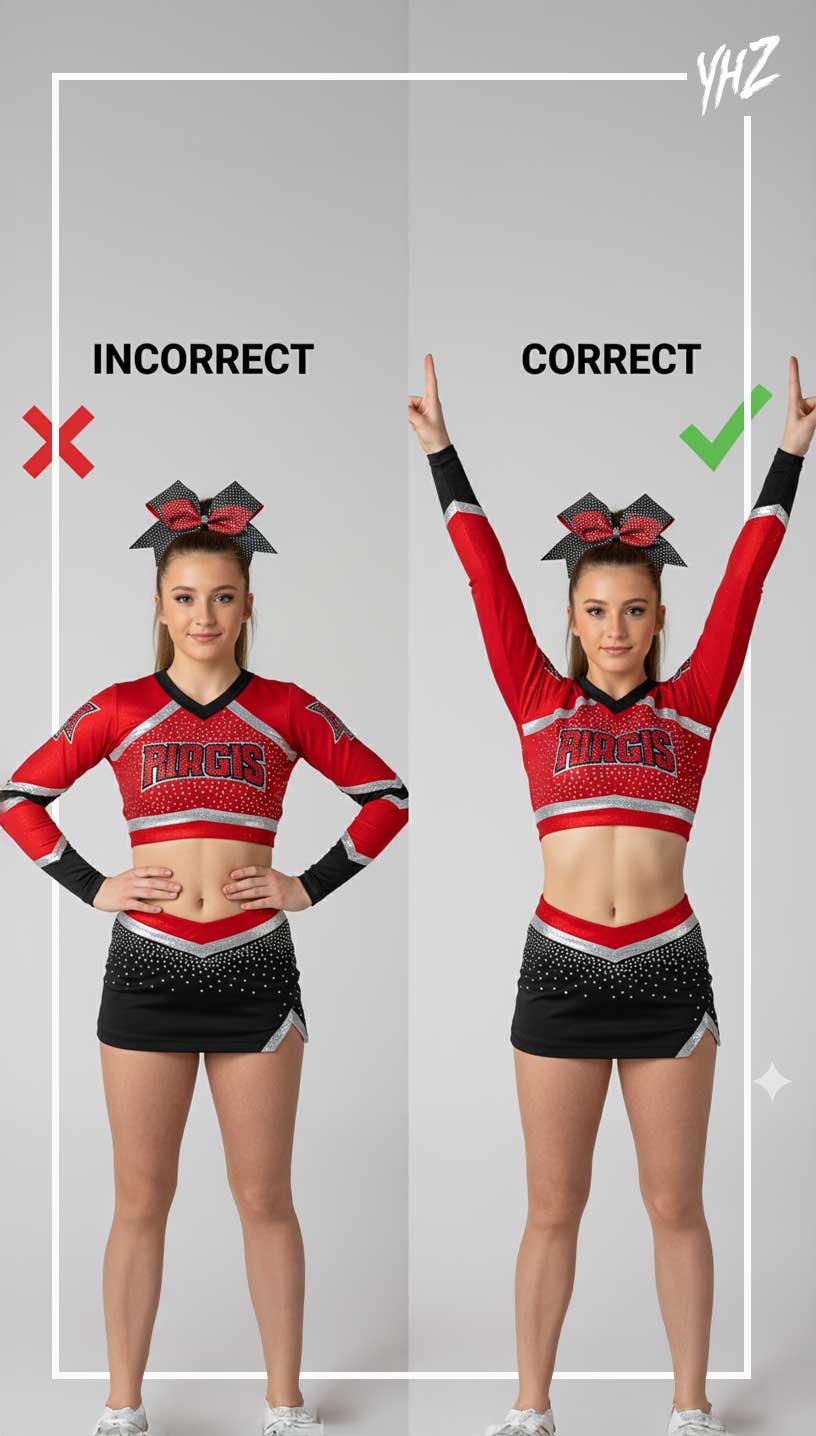
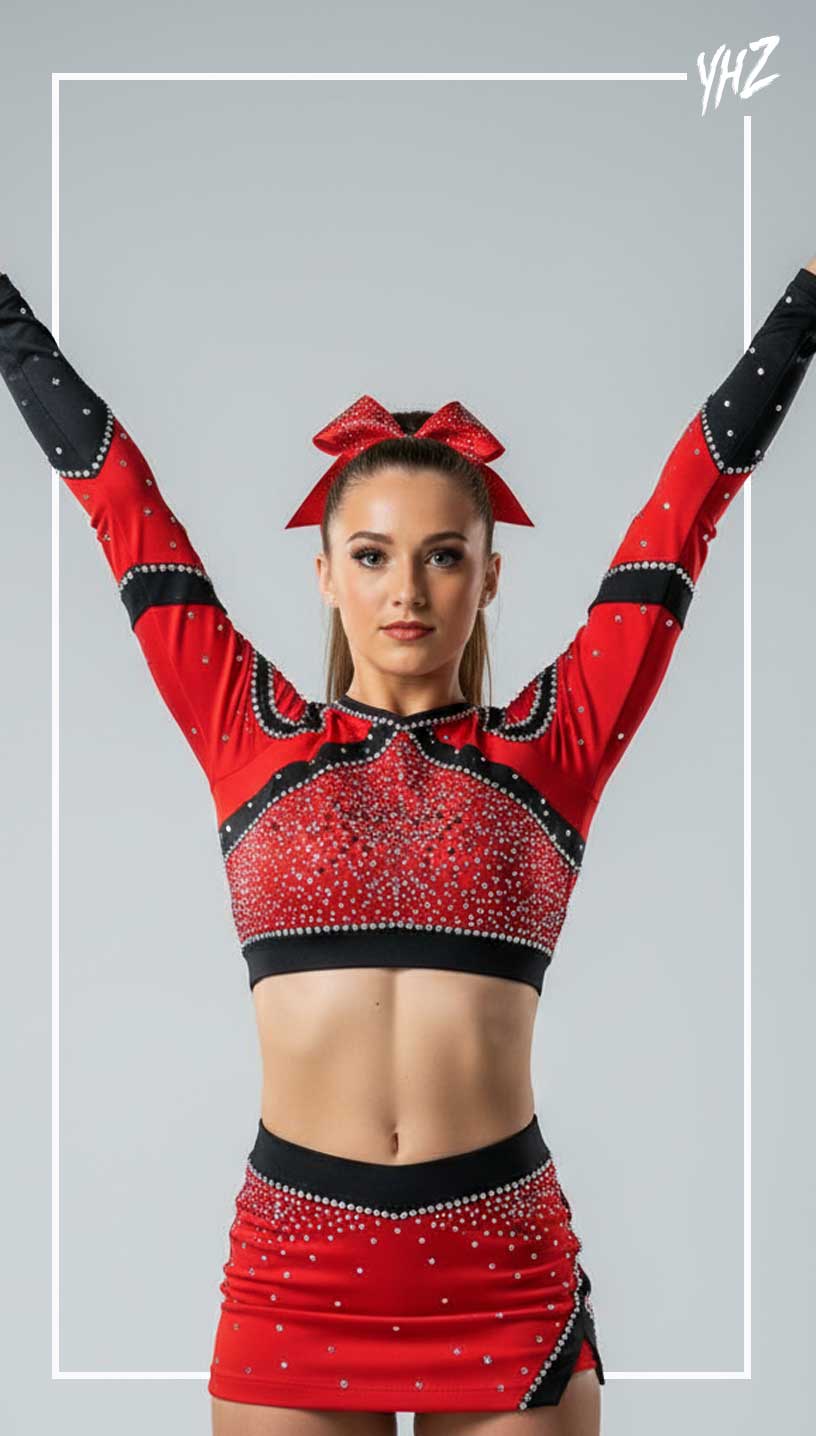
High V: Arms extend upward at approximately 45° from the head, forming a “V” with palms facing forward. Shoulders remain depressed, core engaged, and wrists aligned with the forearm.
Low V: Arms extend downward at approximately 45° from the hips with the same shoulder and palm orientation. The torso remains tall; no leaning or hip shift.
Key Concepts:
- Shoulder stability: Press shoulders down and back to avoid lifting into the neck.
- Core control: The rib cage should stay locked over the hips.
- Angle precision: Both arms hit identical 45° angles from the body’s centerline.
- Hand posture: Palms open, fingers tight, wrist flat with forearm.
Step-by-Step: Teaching the High V and Low V One-on-One
Step 1: Establish Correct Posture
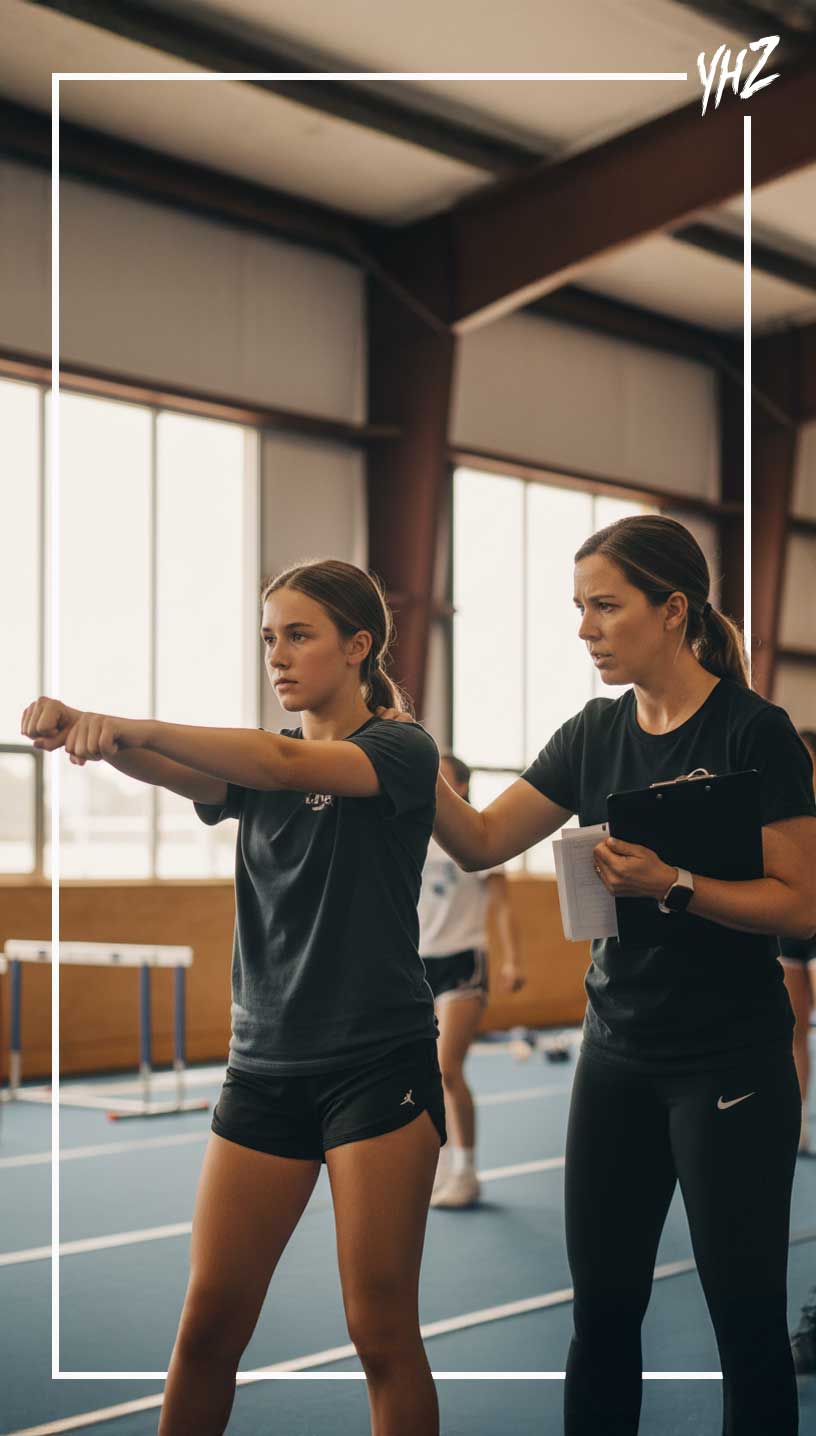
Have the athlete stand in front of a mirror, feet together, core tight.
Cue: “Imagine a straight pole running from your ears through your hips — stay tall against it.”
Checkpoints:
- No rib flare.
- No arched back.
- Shoulders pressed down, not forward.
Step 2: Build Arm Pathways - Start in a clean stance. Slowly lift arms to High V using a controlled path.
- Cue: “Slide your arms up invisible rails until they stop at 45°.”
Reverse to Low V while keeping the chest tall.
Step 3: Activate Proper Muscle Engagement
Have the athlete perform isometric holds for 10 seconds in each position.
- Cue: “Press your shoulders down into your back pockets while reaching long through your fingertips.”
This balances relaxation and engagement — no over-tightening through the traps.
Teaching Small Groups
When working with 3–5 athletes, visual consistency becomes the goal.
Step 1: Mirror Line Drill
Athletes line up facing a mirror. Coach calls “High V!” — everyone hits and holds.
Cue: “Your wrists should live on the same invisible shelf.”
Step 2: Shoulder Suppression Awareness
Place light resistance bands under each athlete’s armpits, anchored behind them. As they hit High V, they feel upward resistance.
Cue: “Keep your shoulders under control — don’t let the band lift you.”
Step 3: Peer Alignment Feedback
Partners watch from the side to ensure the 45° line is consistent.
Correction language: “Your V is too narrow/wide — match your partner’s arm spacing.”
GymTyme Illinois is particularly known for their attention to technical detail in every transition and count. Coach Colleen Peddle notes that their athletes “strive to be their best every time they practice,” which is evident in Fever’s consistent execution of fundamentals like V motions throughout their championship routines.

Teaching the Whole Team
Step 1: Floor Grid for Angle Consistency
Mark 45° lines on the floor with tape extending outward from each athlete’s center point. These act as alignment guides for both High V and Low V. Cue: “Hit your V to the line – not beyond it.”
Step 2: Visual Synchronization
Film the team from the front and above if possible. Pause frames at each V to identify uneven angles. Adjust arm width and height as a group.
This filming technique is standard practice at top programs. Watch any performance from The California All Stars Black Ops or World Cup All Stars Shooting Stars and you’ll see the results of this level of video analysis – perfect synchronization that creates powerful visual impact.
Step 3: Integration into Choreography
Transition drills: practice moving from T → High V → Low V → punch → High V on counts 1-8. Cue: “Every V is identical – same reach, same stop, same confidence.”
Coaching Language That Resonates
The words a coach uses determine how tension or relaxation manifests. Effective cues:
- “Lift without shrugging.”
- “Reach from your back, not your neck.”
- “Arms long, ribs in.”
- “Energy out your fingers, not your traps.”
- “Tall spine, heavy shoulders.”
Avoid:
- “Tighten up” – creates trap tension.
- “Higher arms” – causes shoulder lift.
Common Athlete Errors and How to Correct Them
Error: Shoulders lift toward ears
Cause: Over-activation of upper traps
Correction: Cue downward press: “Slide shoulders into your back pockets.” Add lat-pull drills.
Error: Rib flare / arched back
Cause: Weak core engagement
Correction: Incorporate plank and hollow-body holds; cue “ribs down, core tight.”
Error: Uneven V angles
Cause: Dominant arm or shoulder imbalance
Correction: Mirror practice; use resistance band symmetry drills.
Error: Soft wrists
Cause: Lack of forearm tension
Correction: Reinforce “blade hand” cue; add wall-press tension exercises.
Error: Bent elbows
Cause: Poor triceps control
Correction: Light dumbbell V-holds to build endurance.
South Coast Cheer Fearless has demonstrated how eliminating these errors at the foundational level leads to three consecutive World Championship titles. Their XSmall division team proves that when every athlete masters these corrections, the collective visual impact is unmatched.
Drills for Developing Perfect V Technique
1. Wall Alignment Drill
Stand six inches from a wall. Perform High V and Low V without touching it. If wrists or elbows hit, the V is too narrow or wide.
2. Resistance V Holds
Loop a light band around wrists. Maintain outward pressure while holding a High V for 15 seconds; repeat Low V. Builds symmetrical engagement.
3. Tempo V Transitions
Execute controlled V changes to a metronome (80–100 BPM). Focus on hitting exact 45° endpoints.
4. “Shoulders Down” Cue Drill
Coach places a palm lightly on athlete’s traps during motion. The goal: perform full V without rising into the hand.
5. Full-Team V Sync Challenge
Entire team hits alternating High V/Low V to 8-count music. Any misaligned athlete restarts the round. Reinforces collective accountability.
Elite programs like Top Gun All Stars Miami integrate these drills into daily practice. With nine World Championship titles for TGLC alone, their commitment to fundamental excellence in motions like the High V and Low V is evident in every performance.
Conditioning for V Endurance
Strong V positions require posterior-chain balance and shoulder stamina. Integrate:
* Reverse flys (3×12 at 8 lbs)
* Scapular retraction band pulls (3×15)
* Plank arm raises (3×10 each side)
* 30-second High V/Low V holds under fatigue conditions
Cue: “When your arms burn, hold the line – that’s your real V.”
Cheer Athletics Plano has partnered with Sports Academy to provide their Elite teams with specialized strength, flexibility, and conditioning programs for the 2025-2026 season. This type of targeted conditioning helps teams like Panthers (multiple World Champions) and Cheetahs maintain technical precision even under the physical demands of a full routine.
Learning from the Best: What Championship Teams Do Differently
When analyzing the 2025 MAJORS and Cheerleading Worlds results, certain patterns emerge among champion teams:
- Consistency Across All Athletes: Watch Cheer Extreme Raleigh SSX’s routines and you’ll see that every athlete – not just the strongest ones – demonstrates identical shoulder placement and angle precision in their V motions. This team consistency is what allowed them to score 164.85 with zero deductions at Worlds 2024.
- Detail-Oriented Practice: GymTyme Illinois focuses on “every count” of their routines, according to their coaching staff. This attention to transitions and details extends to fundamental motions, ensuring that V positions are always sharp, never rushed or lazy.
- Zero Tolerance for Technical Errors: The Stingray Allstars programs (with teams like Peach and Orange winning MAJORS divisions) maintain high standards for motion technique. A sloppy V is corrected immediately, reinforcing that fundamentals are never beneath any athlete’s attention.
- Progressive Skill Development: Cheer Extreme Raleigh’s pathway from developmental teams to world-champion squads like SSX shows how building proper V technique from Level 2 creates athletes who can execute flawlessly at Level 6. They “track kids from one team to the next” to ensure proper technical foundation.
Teaching clean High V and Low V positions is about structural discipline, not brute force. The coach’s role is to train posture first, then angle precision, and finally tension control. Build awareness from the shoulders down, not the hands up.
The 2024-2025 season has shown us through teams like South Coast Cheer Fearless (three-peat champions), GymTyme Illinois Fever (back-to-back champions), Cheer Extreme Raleigh SSX (six-time champions), and Cheer Athletics Plano Cheetahs (MAJORS champions) that technical excellence in fundamentals is what separates good teams from championship programs. When you invest time in perfecting V motions, you’re not just fixing arm positions – you’re building a foundation for every elite skill that follows.

IPP's Premade Mixes are USA Cheer Compliant and customizable! Add Sound FX, swap songs, & more! Add your Team Name to the mix for only $10!



 Cheer Mixes
 Past-Season Mixes (50% off!)
 You Hit Zero Cheer Blog
 Spotify Playlists
 Quick Quote Video Tutorial